Dehydrating sourdough starter is the best way to store it indefinitely. After just 3-5 days you can revive your dry sourdough starter and get back to baking—much faster than making one from scratch!
Some links in this post may be affiliate links. Read my disclosure policy.

Jump To:
- Why Should You Dehydrate Your Sourdough Starter?
- Is It Better to Freeze or Dehydrate Sourdough Starter?
- How Old Should Your Starter Be Before Dehydrating?
- What’s the best way to dehydrate sourdough starter?
- How to Dehydrate Sourdough Starter Step-by-Step
- How to Revive your Dehydrated Starter
- Ways to Use a Dehydrated Starter
- Common Mistakes to Avoid when Dehydrating Sourdough Starter
- Dehydrated Sourdough Starter
Why Should You Dehydrate Your Sourdough Starter?
While sourdough starters are remarkably strong and resilient, sometimes they can spoil and need to be thrown out. Or you might be going on a long vacation or just feel like taking a break from sourdough for a while. You might want to mail some of your starter to a friend from halfway across the world, or make packets of your starter to sell at a farmer’s market. Drying your sourdough starter makes the wild yeasts and bacteria go dormant, ready to be revived at some point in the future. You can store your dried sourdough starter for years without feeding it, making it the perfect solution for all of these situations!

Is It Better to Freeze or Dehydrate Sourdough Starter?
Both freezing and dehydrating are great ways to preserve a sourdough starter. Consider the pros and cons of each method to decide what’s best for you!
Freezing
Pros:
- It’s quick and easy to do, without any special preparation needed
- It’s usually faster to revive than a dehydrated starter
Cons:
- It requires electricity and freezer space
- It won’t last as long as a dehydrated starter, about 12 months or so. It could last even longer than that, but there’s no guarantee you’ll be able to revive it.

Dehydrating
Pros:
- It can last for ages if stored correctly
- It’s lightweight and easy to store, transport, and share with others
- Doesn’t need any electricity or freezer space to store
Cons:
- It takes 3-5 days to revive a dried sourdough starter
- You’ll need to do some prep work to dehydrate the starter
My favourite method is dehydrating because it’s simple to do, and will last just about forever! It’s like insurance for your starter, and I think it’s well worth doing.
How Old Should Your Starter Be Before Dehydrating?
If your starter is strong and established, it can be used to make a dehydrated starter. If you made a starter from scratch, a dried version of it might be more reliable if you wait until it’s at least 3 months old. Though it wouldn’t hurt to dehydrate some of it as soon as it’s established just in case! Then dehydrate some again when it’s more mature a few months later.
The main thing to keep in mind is just like feeding your starter, it needs to be at or shortly after peak before you dehydrate it. You want your starter to be at its highest level of activity so your dehydrated starter will have a large population of wild yeasts and bacteria to preserve in dried form.
What’s the best way to dehydrate sourdough starter?
Luckily, you don’t need any special equipment to make a dried sourdough starter. Here are a few options starting from easiest and least expensive:
Option 1: Air dry it
Air drying your sourdough starter is a great option if your home isn’t very humid. All you need to do is spread your starter out thinly on some parchment paper or a silicone baking mat, and leave it out to dry! You can aim a fan at the starter to help it dry out faster as well as repel fruit flies—they tend to get attracted to anything fermented like sourdough starter. Air drying a sourdough starter takes anywhere from 2-24 hours depending on the conditions in your home and how thinly you spread your starter out.
Option 2: Use your oven
If your home is humid and air drying isn’t an option, you can put your starter in the oven with the light turned on and the door closed. Don’t turn the oven itself on. Even at the lowest temperature it will be too hot and will kill the organisms in your starter. This will take anywhere from 4-24 hours depending on how thinly you spread your sourdough starter.
Option 3: Use a Dehydrator
A dehydrator makes the process quick and foolproof. Spread the starter out on sheets of parchment paper that will fit your dehydrator trays. Set it to 88˚F (31˚C) and dehydrate for 4-6 hours or until completely dry.
How to Dehydrate Sourdough Starter Step-by-Step

- Try to catch your starter at or just after its peak. Take some of the starter and use an offset spatula or bench scraper to spread it out as thinly as possible on a sheet of parchment paper or a silicone baking mat.
- Leave it out to dry, put it in the oven with the light on, or use a dehydrator to dry the starter out. See above for more information on each drying method.
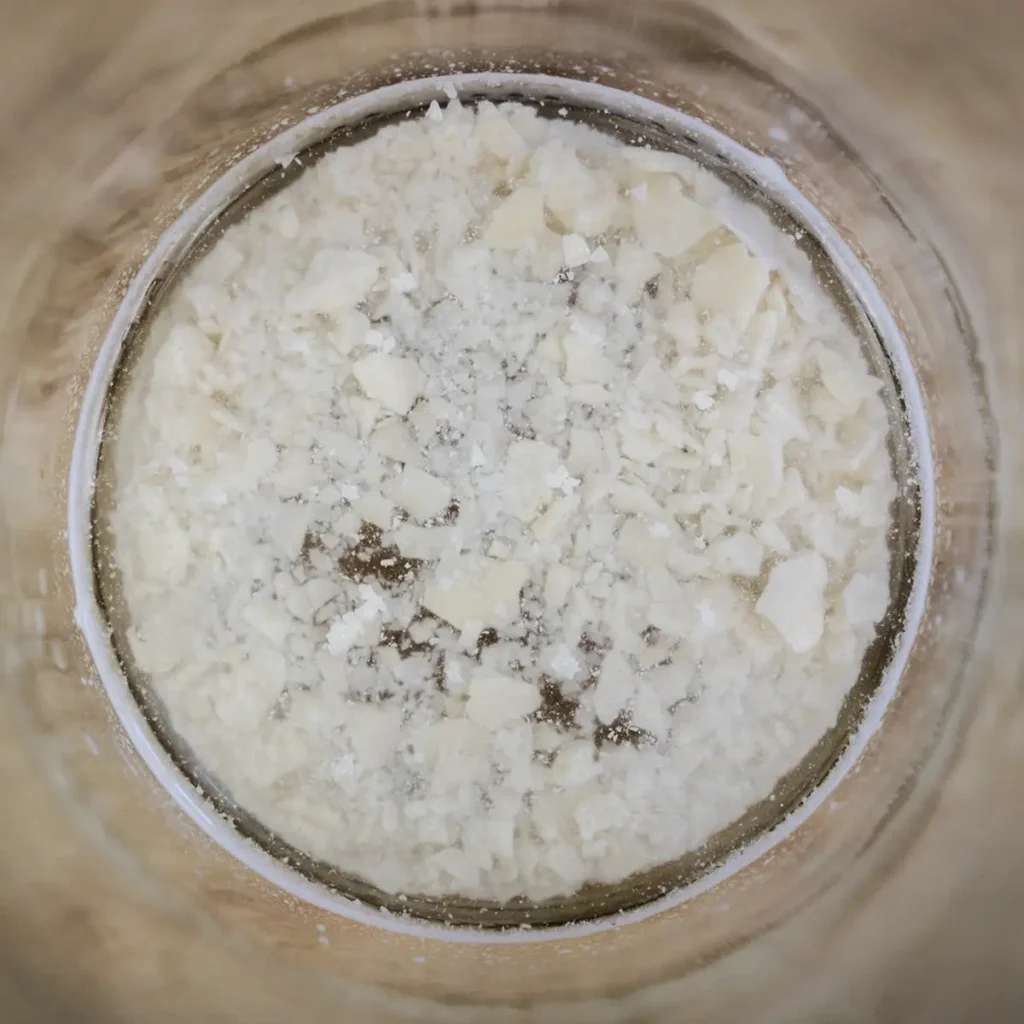
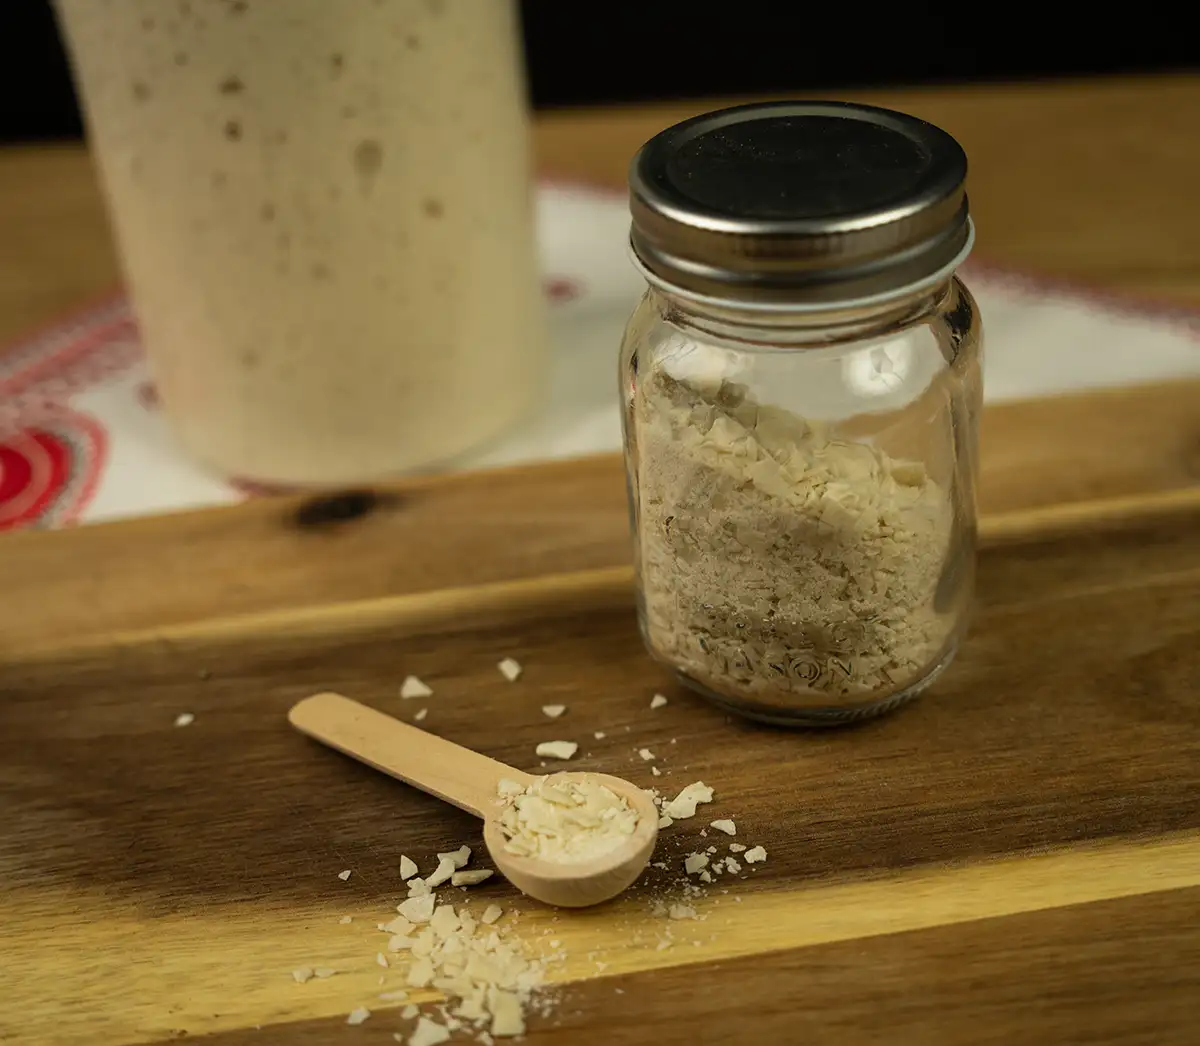
- Make sure the starter is completely dry before storing it. You can either break it up into pieces with your hands, or grind it into a powder using a blender or food processor. Either works fine, but a powder is a little bit easier to rehydrate later.
- Place it in an airtight container such as a ziploc bag or mason jar, and store it in a dry place.
How to Revive your Dehydrated Starter
This process usually takes around 3-7 days, much faster than making a sourdough starter from scratch!
- Put about 5 grams (or a couple pinches) of the dehydrated starter in a jar. I like using a wide-mouth mason jar or 750 mL Weck jar, but any jar made of a food-safe material will work. Add 25 grams of lukewarm water and loosely cover the jar with its lid. Wait 1-2 hours for the dry starter to allow the starter flakes to dissolve into the water.
- Add 20 grams of unbleached all-purpose flour, and stir to combine. Loosely cover the jar with its lid, and leave at room temperature for about 24 hours.
- Repeat this every day until your starter is active again: Transfer 10 grams of the starter to a clean jar, and discard the rest. Feed it with 25 grams each of flour and water, and stir to combine. Cover the jar loosely with its lid and leave for about 24 hours.
If you want to try speeding the process up, you can try some of these tips for keeping your sourdough starter warm.

Ways to Use a Dehydrated Starter
Now that you know how to make your own dehydrated sourdough starter, there are lots of ways you can use it:
- As a backup for your active sourdough starter, in case anything goes wrong with it! Store it in a cool and dry place and it should last indefinitely.
- Mail some to a friend who lives far away. Put some in a small ziploc bag, press it flat and squish out all of the air before closing so it fits easily into an envelope.
- Package it in cute airtight containers (such as mini mason jars) and sell your starter at a farmer’s market.
Common Mistakes to Avoid when Dehydrating Sourdough Starter
Drying a weak or immature starter
A weak or immature starter doesn’t have enough wild yeast and bacteria to make a good dehydrated starter, and you might not be able to revive it after drying. You should strengthen your sourdough starter first by feeding it from peak-to-peak for a few days, until it is reliably doubling or more within 6-12 hours after each feeding. Or if you’re still making your starter from scratch, wait until it is established and reliably doubling for several days before dehydrating some of it.

Not letting it dry out completely before storing
You need to make sure your sheet of sourdough starter is completely dry (even the thickest parts) before storing it in an airtight container. Otherwise the remaining moisture could cause the starter to go moldy and spoil. As long as the starter is completely dry and stored in a dry and airtight container, it should last for years.
Storing it in a non-airtight container
If the container you store your dehydrated sourdough starter in is not airtight, it could let moisture in which could cause spoilage.
Using too much heat to dry the starter
Heating your starter to 120˚F (49˚C) or higher will start to kill the wild yeasts and beneficial bacteria in your starter, rendering the dehydrated starter useless. To be on the safe side, don’t let the starter get any warmer than 90˚F (32˚C).
Dehydrated Sourdough Starter
Ingredients
Equipment
Method
- Line a baking sheet with a silicone baking mat or sheet of parchment paper. Take some active sourdough starter and spread it out very thinly. The thinner you spread it out, the faster the starter will dry.
- If you have low humidity in your home (less than 45% RH or so), you can leave it out on the counter uncovered. If your home is more humid than that, put it in the oven with the door closed and the light turned on. Make sure to put a sign on the oven door to prevent anyone from accidentally preheating the oven and cooking the starter.
- It could take anywhere from 2–24 hours for the starter to dry. Once even the thickest parts of the sheet of starter are dry, break it up into small enough parts to fit in an airtight ziploc bag or mason jar. Or you can put pieces of the dry starter into a blender or food processor and grind it into small pieces or even a powder, and then store that in an airtight container.
Leave a Reply