
Meet your new go-to sourdough recipe! This soft, buttery dough is full of potential and can grow up to be just about anything you want it to, from crème brûlée cinnamon rolls to become just about anything you’re craving, from crème brûlée cinnamon rolls to savoury jalapeño cheddar pull-apart bread, dinner rolls, or a sandwich loaf.
Some links in this post may be affiliate links. Read my disclosure policy.
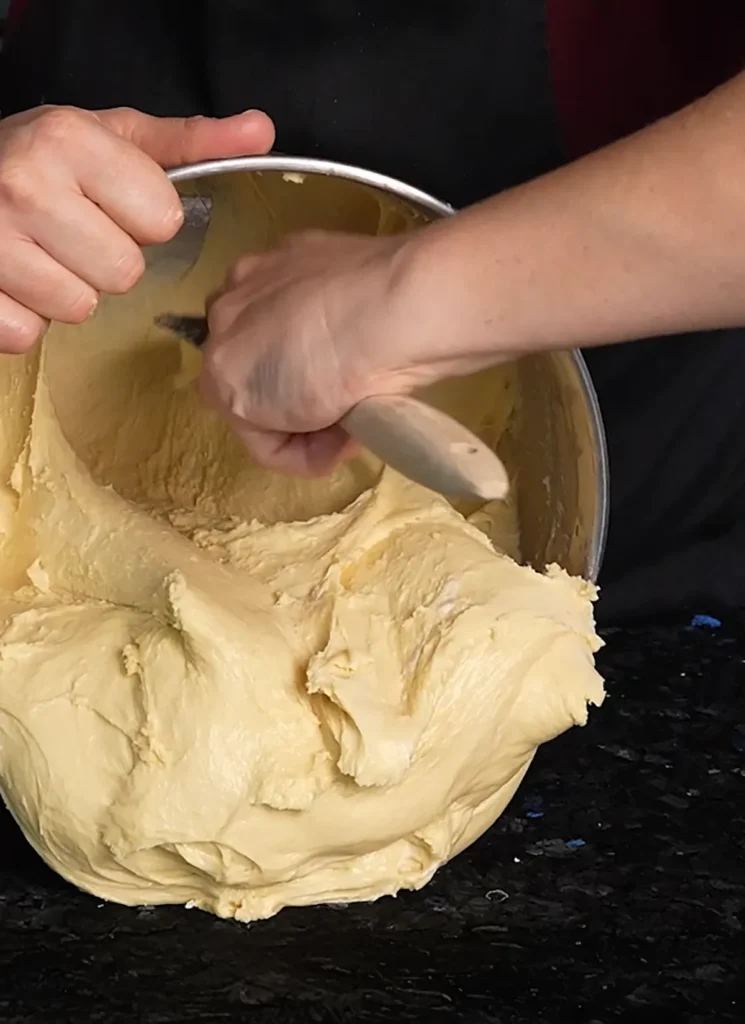
Prefer to Watch Instead of Read?
Why You’ll Love this Recipe
- It’s super versatile! Keep this recipe in your back pocket any time you’re craving some cinnamon rolls, a pull-apart loaf, or anything in between. It also makes great dinner rolls and sandwich bread!
- It’s easy to make & use. Just add the butter gradually, and let it proof in the fridge overnight and it will be easy to handle the next day.
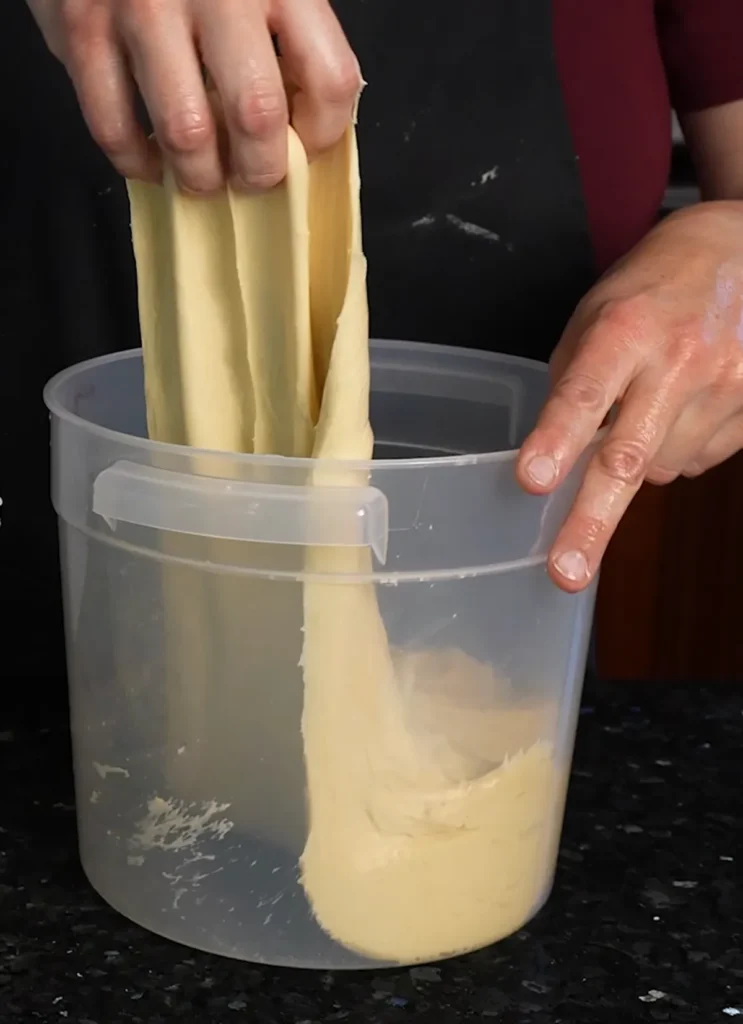
Key Ingredients
- Bread flour has a high gluten content, which is essential for this enriched dough. All-purpose flour just can’t handle all the hydration and enrichment to produce a dough with enough structure.
- Eggs add richness and structure to the dough. Use large eggs.
- Whole milk adds richness, flavour, and binds the dough together. Use whole milk if you can, but avoid skim!
- Sourdough starter leavens the dough, and adds flavour! If you don’t have a starter yet, it’s easy to make your own from scratch.
- Salt balances flavour, but also regulates fermentation and tightens up gluten. I recommend using fine sea salt because it’s easier to dissolve into the dough.
- Butter makes the dough rich, soft, and tender. Use it at room temperature (around 68–72˚F / 20–22˚C) so it incorporates easily into the dough without tearing it.
Recommended Equipment
- A stand mixer will make it so much easier to knead this dough! I love using my Ooni Halo Pro mixer (though the smaller Ooni Halo Core mixer would be plenty big enough for most home bakers). It uses the same spiral action that most bakery mixers use, and the dough comes out really nice! That said, any stand mixer with a dough hook and a decent motor, like a Kitchen-Aid mixer, will work great.
- A large bowl or container for bulk fermentation. I love bulk fermenting in a 4-quart Cambro container because it has relatively straight and transparent sides with measurement markings, making it really easy to see how high the dough has risen. It also comes with a lid so you can easily cover it.
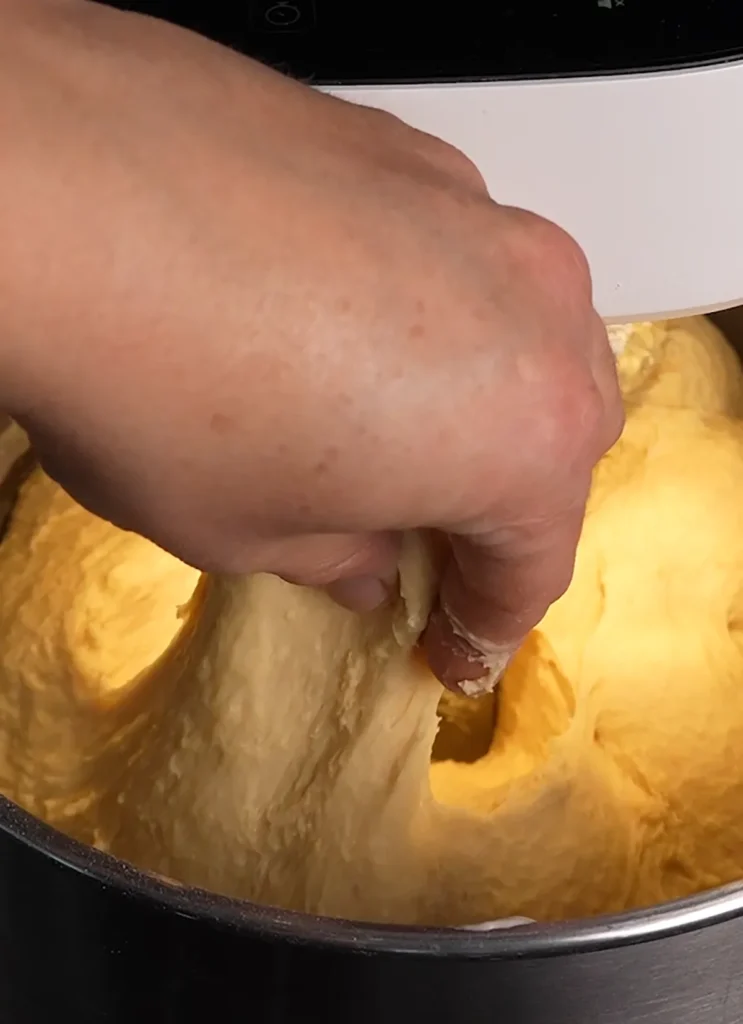
Success Tips
- Use an active and bubbly starter. I don’t normally make a strong point of saying you need to use starter at peak. Most of the time breads will turn out just fine even if your starter is flat! But this is a highly-enriched dough with ingredients like eggs and butter that will weigh it down. It can be hard for a flat starter to leaven an enriched dough like this. So I strongly recommend using your starter when it’s active and bubbly!
- Use a stand mixer. While you could knead this by hand, it would be a challenge! The dough is quite sticky until after bulk fermenting and spending some time in the fridge. Plus, you have to add the butter one piece at a time and wait until each piece disappears into the dough. It would take a lot of time (and elbow grease) to do this successfully by hand.
- Develop gluten before adding butter. Butter is technically a type of shortening, even though we normally associate the term with those weird blocks of solid white hydrogenated vegetable oil. Butter and most other fats/oils inhibit gluten formation, literally shortening the gluten strands (which is where the term comes from). For this reason, it’s important to develop a decent amount of gluten in the dough before adding the butter, or it might never be able to develop enough gluten strength.
- Don’t let it double in size before resting it in the fridge. It will continue fermenting while in the fridge. If it already doubles at room temperature it might be overfermented by the time you pull it out of the fridge for shaping. Download my free bulk fermentation toolkit here to hone in on what target % rise works well for you!
- Rest it in the fridge before shaping. It will be way easier to handle after letting the butter firm up in the fridge at least overnight and for up to 48 hours. And you’ll get a better and more complex flavour as a bonus!
Frequently Asked Questions
It’s normal for this highly-enriched dough to still be sticky when you take it out of the mixer. As bulk fermentation progresses it will develop more gluten strength. And after resting in the fridge the butter will firm up and the dough will become easier to handle. If it’s still sticky after this, it’s possible you either didn’t develop enough strength in the dough before adding the butter, or you used a flour with too low of a gluten content.
Yes! You can rest the dough in the fridge for up to 48 hours before dividing and shaping. You can also put the shaped items back in the fridge for up to another day. Most things can also be frozen after baking and cooling, but that depends entirely on what they’re filled with so follow the storage recommendations for the recipe you’re making.
Anything Goes Enriched Sourdough
Ingredients
Method
- Add 115 g whole milk, 125 g sourdough starter, 3 large eggs, 40 g honey, 1 ¼ tsp granulated sugar, 10 g fine sea salt, and 410 g bread flour to the bowl of a stand mixer fitted with the dough hook (see Note 2).
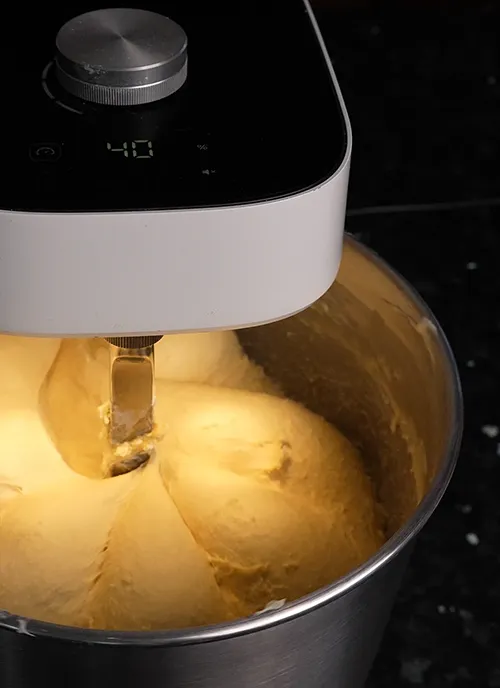
- Start the mixer on low speed for a few minutes until most of the ingredients are combined, then increase to medium (or whatever speed you use on your mixer to knead dough). Continue until the dough has developed some gluten strength and you can pull on it without it easily tearing. It does not need to pass the windowpane test.
- With the mixer running, add 70 g butter one piece at a time waiting until each piece disappears into the dough before adding the next one (see Note 3). After all of the butter has been added continue kneading for another 3–5 minutes, or until the dough smooths out. The dough will still be sticky and may not pass the windowpane test. During bulk fermentation it will develop more strength, and after a cold proof the butter will firm up and the dough will be easier to handle.
- Transfer the dough to a large, lightly greased bowl or other container for bulk fermentation, and roughly form it into a ball. Rest for 30–45 minutes. Perform a set of stretch & folds. Perform 2 or 3 more sets of stretch & folds, with a rest of 30–45 minutes between each one.
- Aim for a rise of around 25–75% depending on how warm your home is. For a warmer room temp, aim towards the lower end of the range and for a cooler room temp, aim towards the higher end (see Note 4).
- Place in the fridge to cold ferment at least overnight, and for up to 48 hours.
- You can use this dough to make sandwich bread, dinner rolls, cinnamon rolls, cheesy pull-apart loaves, monkey bread…or pretty much any sweet or savoury thing you'd want to use an enriched dough for! Follow the shaping instructions for whatever thing you're making. After shaping, you can proof at room temp or in a proofing box set to 75–82˚F (24–28˚C) until your bread or rolls (or whatever!) is noticeably puffy. You can also put it in the fridge for another overnight proof.
- I recommend baking this dough at 350–375˚F (175–190˚C). Bake time will depend entirely on what you're making with it! Small dinner rolls will take less time to bake than an entire sandwich loaf. Look for doneness cues like a golden brown crust, a good oven spring, and an interior temperature of 195–205˚F (90–96˚C).
Video
Notes
- An enriched dough (like this) can be harder for a sourdough starter to leaven. All those enriching ingredients (like eggs, butter, and sugar) kind of weigh the dough down. So I recommend using your starter at peak, or as close to it as you can manage.
- You could knead this by hand. But I highly recommend kneading enriched doughs with a stand mixer. This dough will start out quite sticky, and then the butter needs to be added one piece at a time. It would take a long time and a lot of elbow grease to do it by hand, but it’s not impossible! A stand mixer makes all that so much easier, so if you’ve got one do use it for this recipe!
- Butter is technically a type of shortening, meaning it inhibits gluten formation. It literally shortens gluten strands, which is where the name comes from. For this reason, you need to develop gluten in the dough before adding butter or the dough might never be able to develop enough gluten strength.
- Don’t stress over exactly what % rise to aim for. The main thing is to try not let it double before doing a cold proof, especially if your home is warm. And as a rule of thumb, if your room temperature is on the warm side you’ll want to aim for a lower % rise (and vice-versa for a cold room temp). The dough will continue to ferment in the fridge, and if it’s already doubled or more you might find that it’s already overfermented by the time you take the dough out of the fridge to divide and shape. Also, don’t panic if the dough rises beyond the target % rise you were aiming for! Unless it’s already soup, it’ll probably still turn out fine and I would say it’s still worth baking! I have a free bulk fermentation toolkit that includes cheat sheets and trackers to help you hone in on what % rise works for you here.
Leave a Reply