It’s easy to fall into the trap of thinking you need all the specialty sourdough tools before you can bake amazing bread. A fancy Dutch oven, a proofing box, and even a little warmer for your starter—there’s a lot out there. But the truth is, you can make amazing sourdough bread with just a handful of basic tools. I’ve done it. In this post, I’m walking you through the tools you really need to get started, plus a few budget-friendly extras that can make the whole process smoother or more enjoyable.
Some links in this post may be affiliate links. Read my disclosure policy.
Jump To:
A Sharp Knife for Scoring
Scoring sourdough bread before it goes in the oven helps it spring up to its fullest potentialScoring lets you decide where that tension releases during baking, so your loaf can open up in a controlled way. If you skip this step, your bread will still bake—it’ll just tear wherever it wants to (and the bread probably won’t rise as much as it would have with a score). I love using a bread lame, but a sharp paring knife will do the trick. They’re small and easy to handle, just make sure yours is sharp enough to make clean cuts in raw dough.
A Good Serrated Bread Knife
Sourdough bread has a thick crusty…crust, and you might find that the old trusty bread knife kicking around your utensil drawer isn’t really up to the task. In order to cut through a crusty sourdough boule without completely mangling it, you need a good, sharp serrated knife that’s longer than the width of the loaf you’re trying to cut.
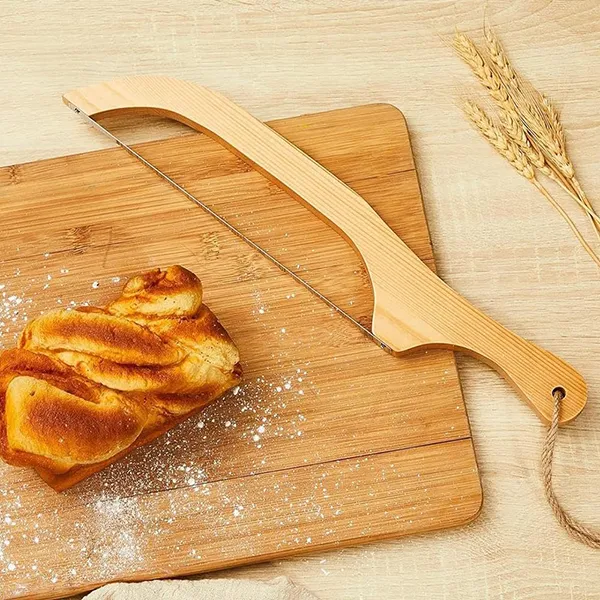
This bow-style knife will help you make nice, even slices without even trying. And at over 15″ , it’s plenty long enough to cut just about any sourdough boule.
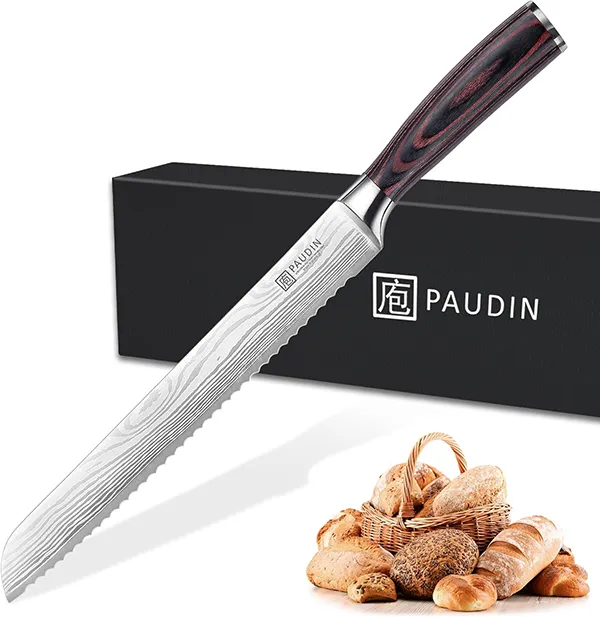
If you prefer being able to cut slices of any thickness, a regular serrated bread knife like this one is a great choice.
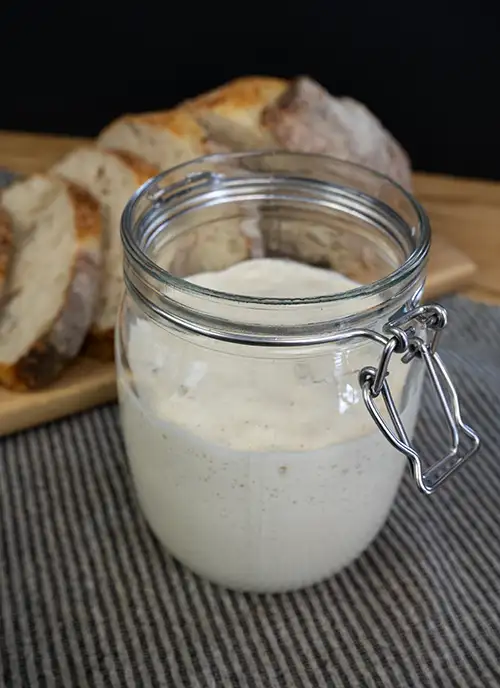
A Couple Jars
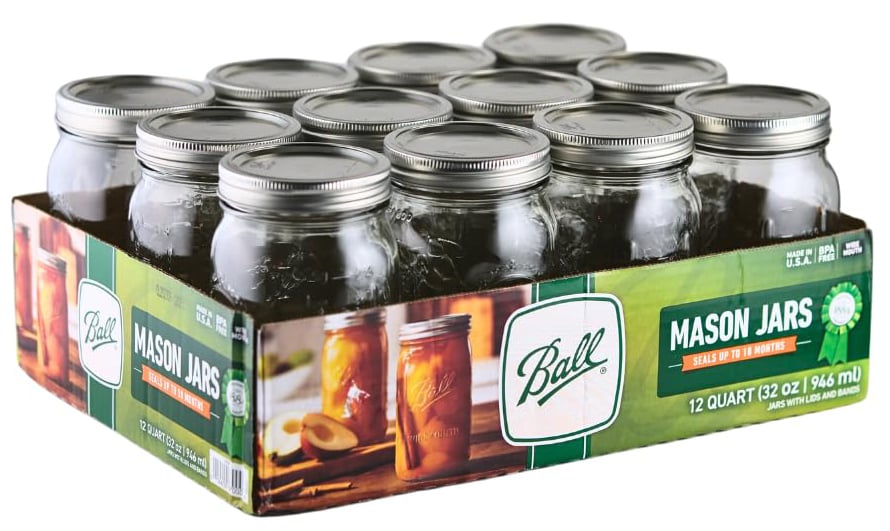
You’ll need a jar to store your sourdough starter in, though two would be better—that way you can have your starter in one jar, and pour it into the second when it’s time to move it to a clean one. These should be clear so you can easily see your starter rising and falling. You also want jars that have a wide mouth and no shoulder (or almost none) so it’s easy to get flour, water, and a spatula in for feeding your starter. Don’t forget your starter expands, so the jars will also need to be at least three times larger than the amount of starter. It doesn’t need to be anything fancy—you can use wide-mouth canning jars or even reuse pasta sauce jars.
Digital Kitchen Scale
Sourdough baking is much more consistent when you use weight instead of volume. A kitchen scale makes everything easier—from mixing dough to feeding your starter to scaling recipes. You’ll also find it helpful for any other kind of baking you do!
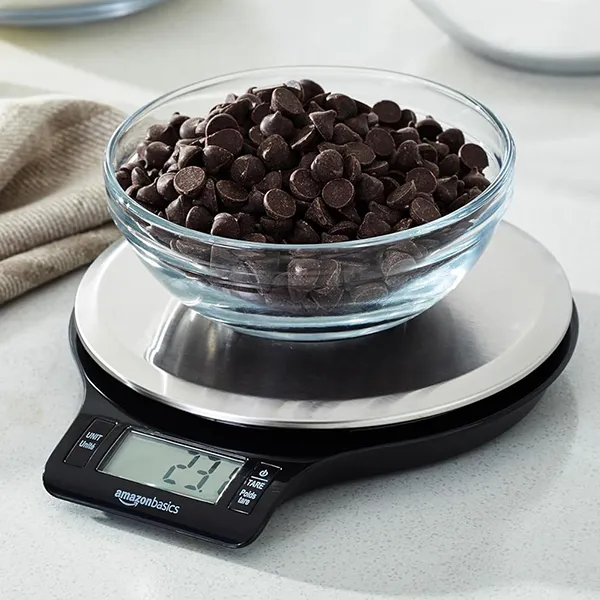
This basic digital kitchen scale is inexpensive and good enough to get you started.
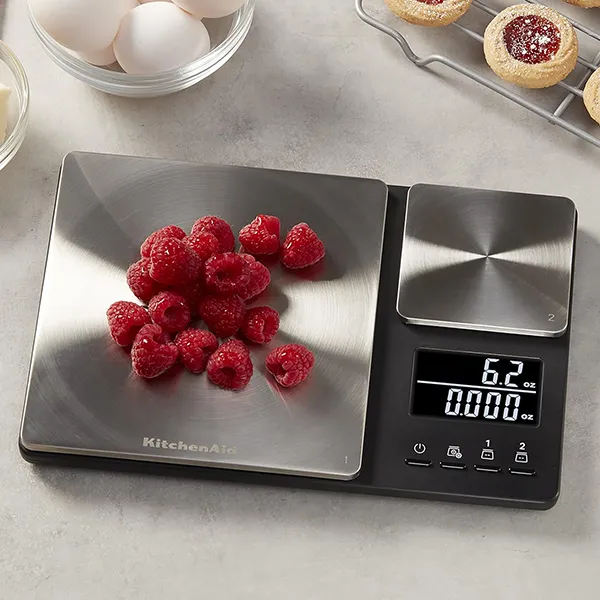
I like this dual-platform digital kitchen scale because the display is off to the side (so your mixing bowl won’t block it). It also has a second smaller plate that weighs in fine quantities—perfect for measuring just the right amount of salt.
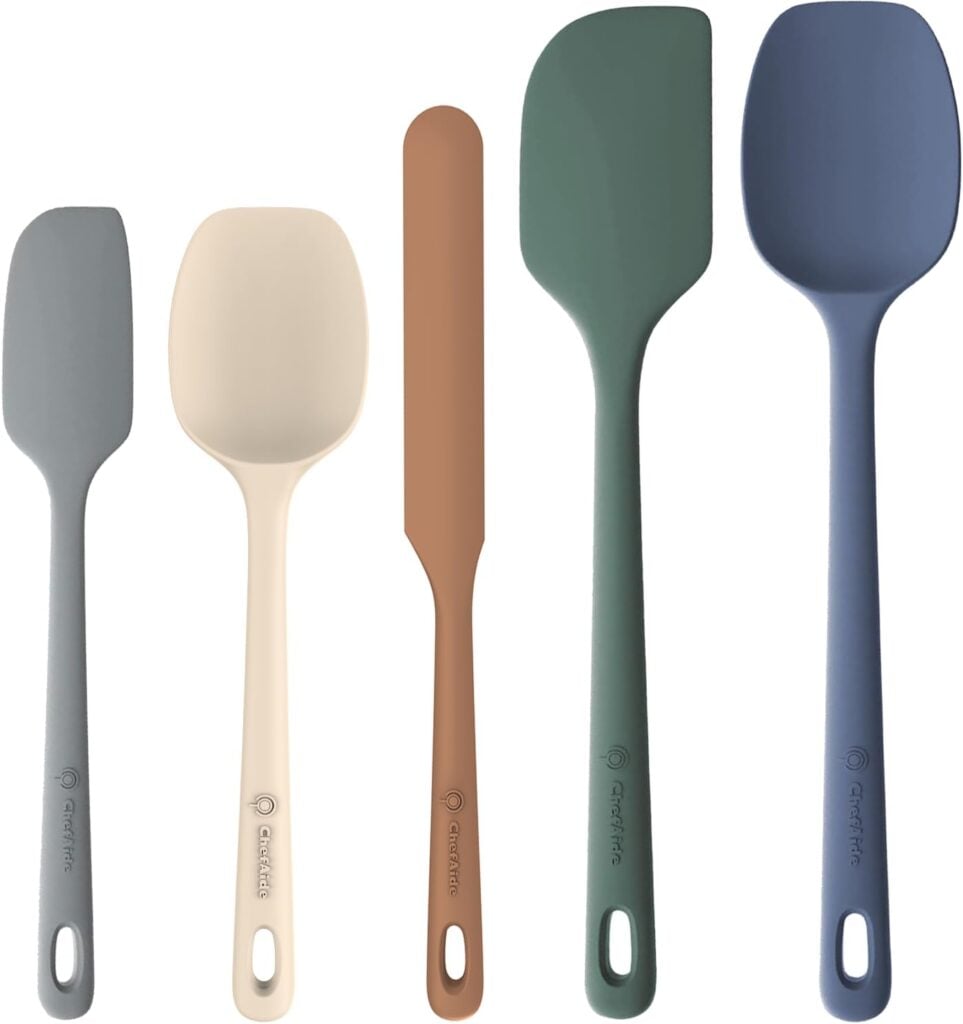
Rubber Spatula
A rubber spatula is the perfect thing for feeding your starter, and scraping the sides of the jar down when you’re done. Any rubber spatula that fits inside your starter jar will do, but if you don’t have one yet I recommend getting a set of sturdy, heat-safe spatulas in multiple sizes like this one.
A Large Glass or Ceramic Mixing Bowl
Just about any large, wide mixing bowl will do! A glass bowl is a great choice because you can see through it and easily monitor fermentation. And ceramic is great because it helps keep the dough at a steady temperature during fermentation. Bonus if your bowl comes with a cover you can use during bulk fermentation! Stainless still works great too, but avoid aluminum. It will react to the acidity in sourdough and leave a metallic taste in your bread (and leach aluminum into the dough).

This mixing bowl holds nearly 5 quarts, making it plenty large for mixing and bulk fermenting a single batch of sourdough bread. And it comes with a lid, which will keep your dough from drying out.

This large bowl holds over 6 quarts, making it perfect for mixing and proofing up to 2 loaves worth of sourdough. It doesn’t come with a lid, but it’s ceramic material and extra-large size makes it a great option.
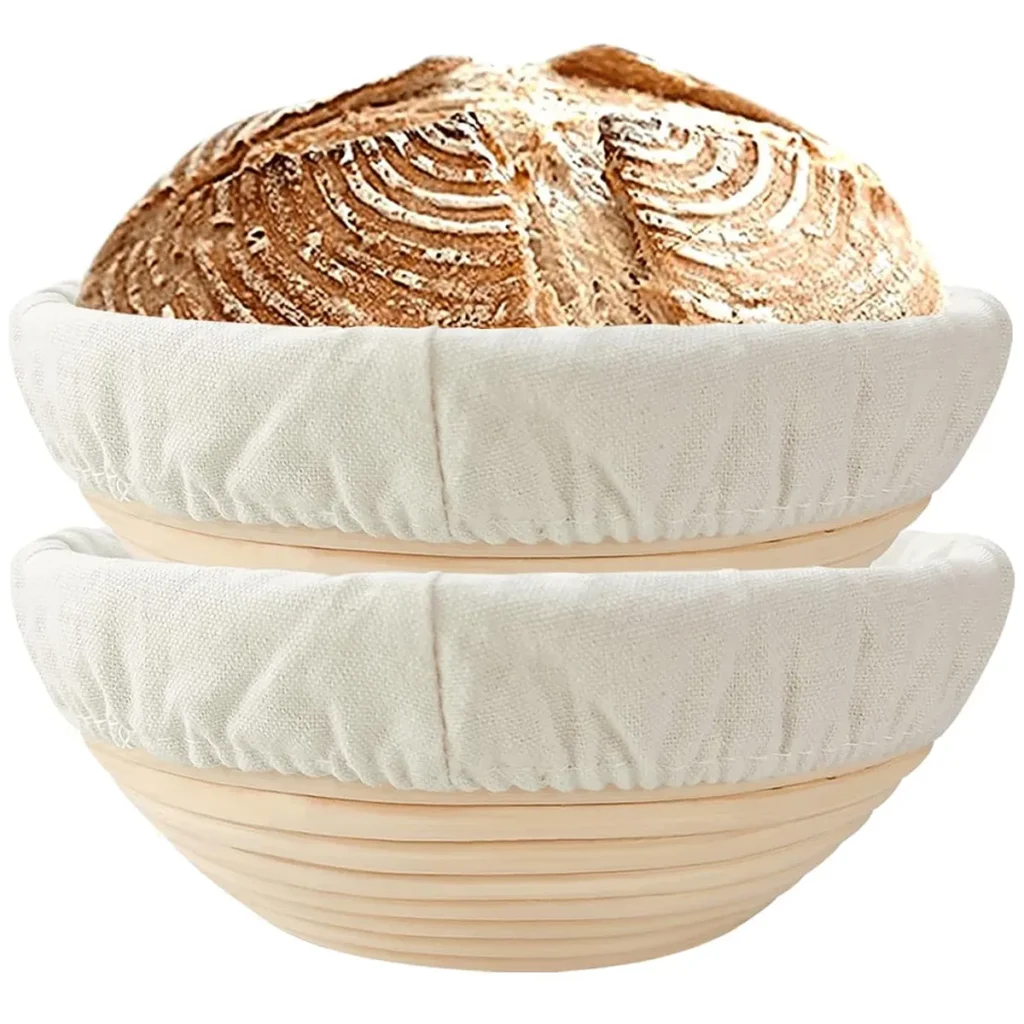
A Banneton
Bannetons (or proofing baskets) do more than just support your shaped dough during it’s final proof. They also wick some of the moisture away from the surface of the dough, making for easier scoring and a crispier crust. You can achieve the same effect by using a colander lined with a tea towel—I show you how in my Beginner Sourdough Bread recipe. But proper bannetons aren’t expensive and are just the right size and shape for a loaf of sourdough. This set of two 9″ bannetons is perfect for making a double batch of sourdough bread.

Enamel Roasting Pan
Sourdough bakers usually use a Dutch oven to bake their breads in, but I actually prefer using a large enamel roasting pan. It’s just as good at trapping steam so you get amazing oven spring and beautifully crackly crusts. But enamel roasting pans have a few benefits over Dutch ovens. First, they’re much larger—you can bake just about any size or shape of loaf in them, even long batards. They’re also way lighter, so it’s a lot easier to get them in and out of the oven. They’re also usually less expensive, and you can often find them at thrift stores, too.
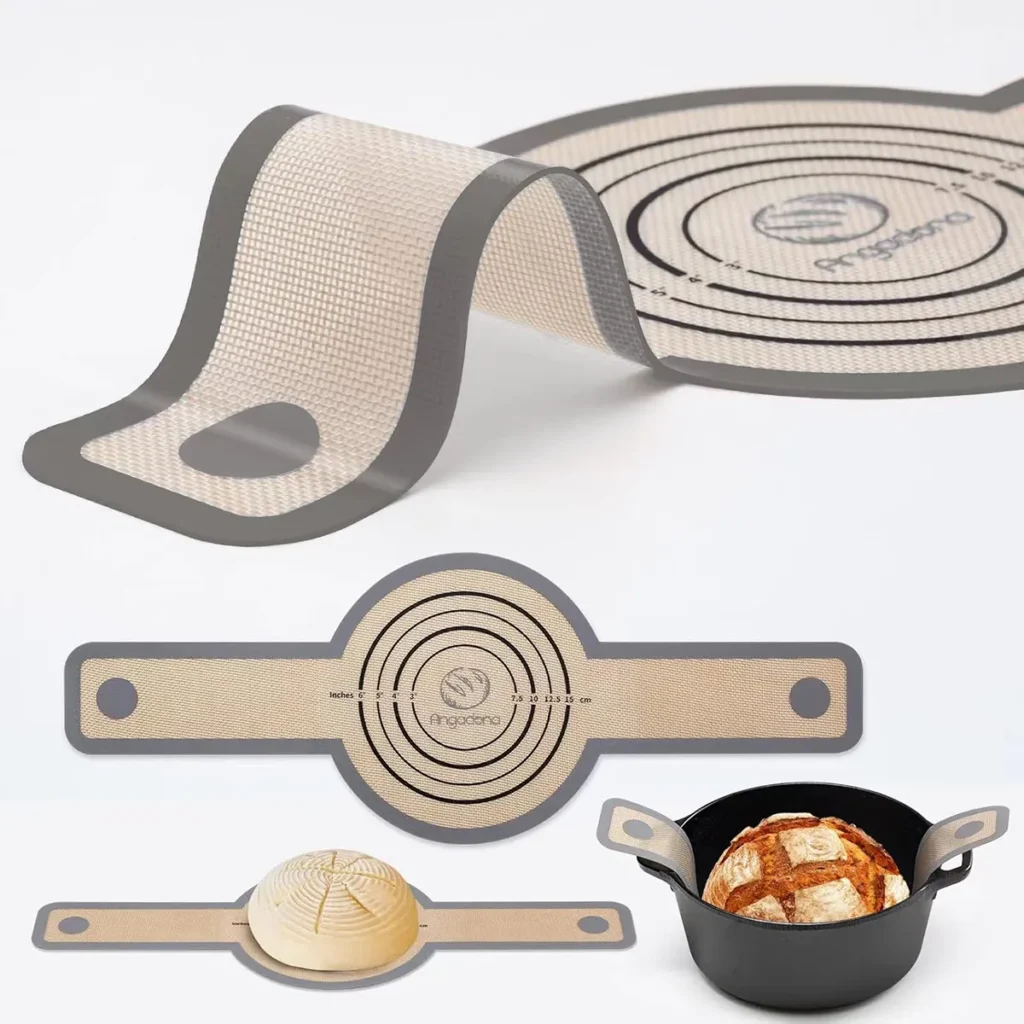
Parchment Paper or a Bread Mat
You’ll need something to get the loaf in and out of your roasting pan or Dutch oven. Parchment paper is the least expensive option, though you can usually only use it once when baking at the high temperatures required for sourdough. Make sure you use a high-quality parchment paper rated for at least 450˚F (230˚C) or it might fall apart during baking. If you’re baking often, a set of reusable silicone bread mats like these can be a good investment. They have tabs or handles to help with loading and unloading, and can be used many times.
That’s really all you need!
You can always add more sourdough tools later as you get a feel for the process and your specific needs. Bench scrapers, dough whisks, thermometers, and fancy lames for scoring are all great. I’ll admit I own some myself! But the truth is, none of those things are really essential to baking great sourdough bread. You can absolutely start with what you have, and get comfortable with the process before getting any more equipment.
Got any favourite sourdough tools I didn’t mention?
Or have you been baking with just the basics, and it’s going great for you? I’d love to hear what’s working (or not) in your kitchen. Drop a comment below and let’s chat bread gear!
Leave a Reply