
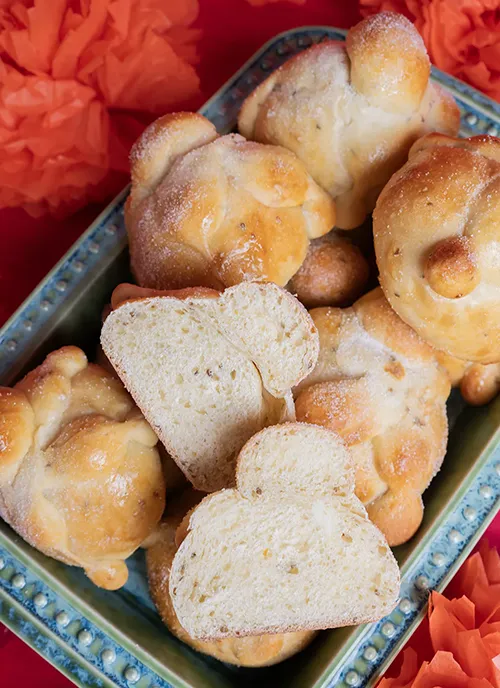
This skull-and-crossbones shaped bread is traditionally made for Día de Muertos in Mexico. It’s deliciously-spiced and so fragrant…and dare I say, they could give cinnamon rolls a run for their money?
Some links in this post may be affiliate links. Read my disclosure policy.
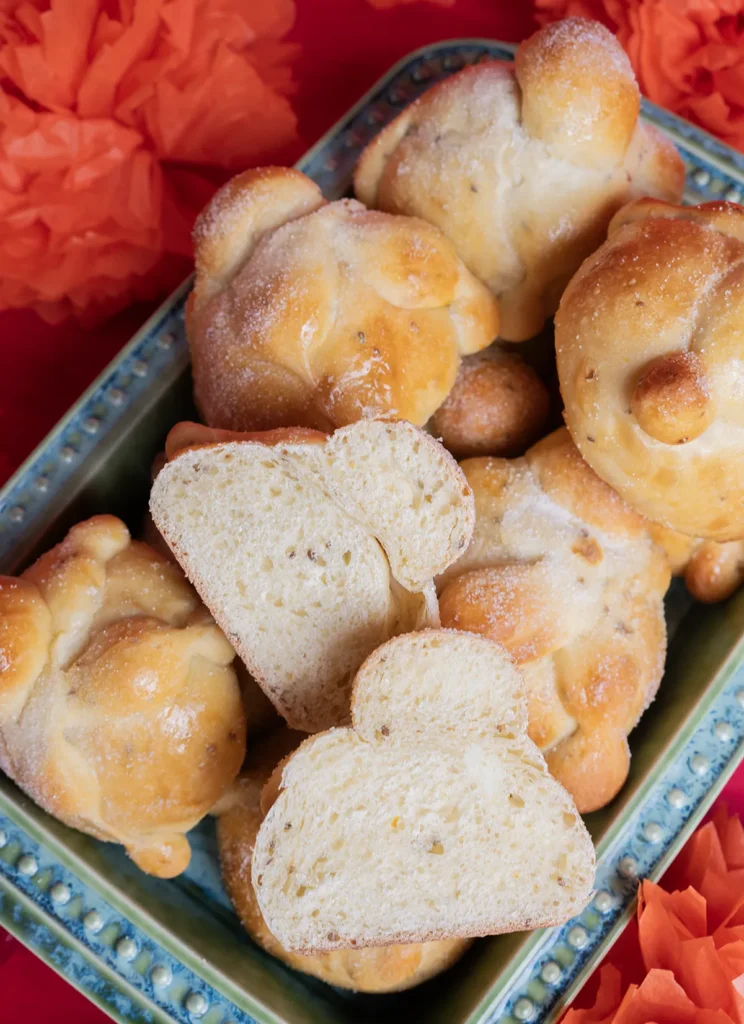
What is Pan de Muerto?
Pan de muerto, or “bread of the dead,” is a traditional Mexican sweet bread made for Día de Muertos. The classic shape is a round loaf shaped to look like a skull and crossbones. It gets placed on ofrendas (alters) as an offering for loved ones who have passed away, and shared with family and friends. It’s a sweet enriched bread that’s traditionally flavoured with orange zest and/or orange blossom water, and often anise and cinnamon. These days all kinds of flavours are made including chocolate, pistachio, vanilla, cajeta, and even sliced pan de muerto sandwiched with a delicious filling! I’m not Mexican myself (just a big fan of the food, language, and culture) so if you’d like to learn more about this beautiful bread and its significance to Día de Muertos please check out this recipe & article on Bon Appetit by Rick Martinez.
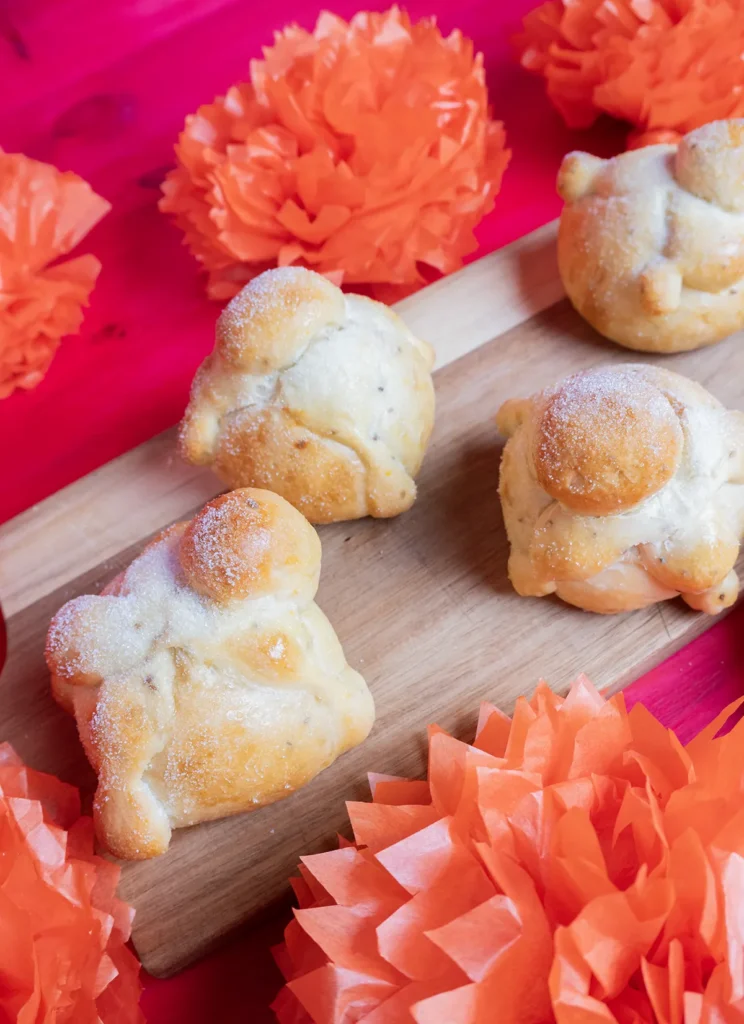
The orange zest, orange blossom water, and anise seed flavour of my pan de muerto recipe is based on the traditional flavours, and nothing like I’ve ever had before. It’s a little addictive a little addictive and while this pan dulce is traditional to Día de Muertos, I like making it any time of year! Pan de muerto can come as one large loaf or smaller individual-sized loaves, so feel free to make one large loaf instead of the smaller individual-sized loaves in the recipe. If you do, you’ll just need to increase the bake time and the larger mass of dough will also likely take longer to proof after shaping.
Key Ingredients
- Bread flour has a high gluten content, so the dough can hold up to all the eggs, butter, and milk in the recipe while delivering a soft and fluffy bread with great oven spring.
- Whole milk has the right fat and sugar content to add richness, flavour, and browning. You could use 2%, but don’t use skim.
- Sourdough starter is used to leaven the dough, as well as add flavour. Learn how to make your own starter from scratch here. For the best results, you want your starter to be active and bubbly. Flat or fallen starter will work too, but avoid using “hungry” starter with a strong acetone smell or a layer of hooch on top because it could have a hard time leavening this enriched dough and could add too strong of a sour flavour.
- Orange zest is used in the dough, and the juice is made into a syrup that gets brushed on the bread after baking to add more flavour, shine, and give the sugar coating something to stick to. I recommend a regular orange like valencia or navel. Mandarins and clementines have a very thin peel that’s difficult to zest.
- Anise seeds have a warm and slightly sweet licorice flavour that pairs beautifully with the orange zest and orange blossom water. Even if you don’t like licorice (I’m not a fan, either) I think you’ll love this flavour combo. Give it a try!
- Orange blossom water adds a delicate floral note to the bread that rounds everything out. It’s optional, but worth a try…and a little goes a long way!
- Butter adds softness, richness, and flavour to the dough. I recommend using unsalted, but you can use salted if that’s what you have on hand (just reduce the salt called for in the recipe).
Pro Tips for Pan de Muerto
- Use a stand mixer to knead this highly-enriched dough. That said, you could knead this by hand, but it’ll be very sticky for a while and you’ll get a really good workout!
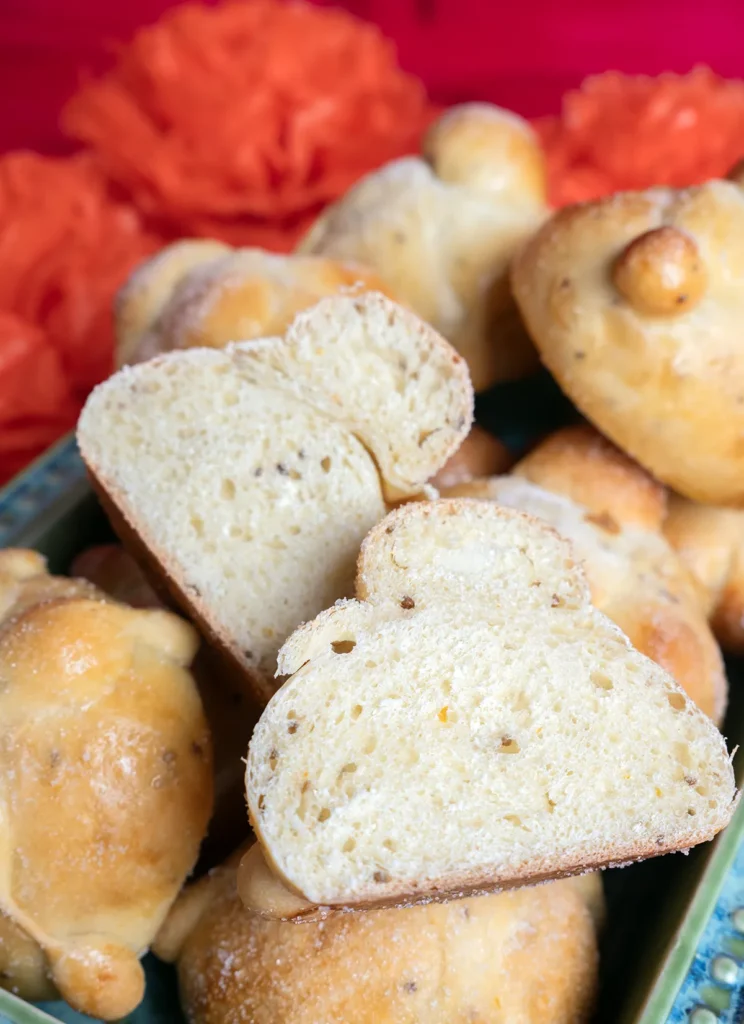
- Develop gluten before adding butter and add it gradually one piece at a time. Fat (like butter) inhibits gluten formation, so developing gluten in the dough before adding butter makes sure your dough will have the gluten it needs to rise up tall and fluffy!
- Use room-temperature butter so it incorporates easily in to the dough without tearing gluten strands. When I say “room temperature”, I mean around 68–70˚F (20–21˚C). The butter should be soft enough to poke your finger in, but not so soft it feels greasy or can barely hold its shape.
- Be patient with bulk fermenation and proofing. Enriched doughs like this one naturally take longer to ferment, so don’t be surprised if bulk fermentation takes a lot longer than you’re used to!
- Form the “bone” ropes firmly. Really press down with your fingers to make nicely-defined nubs on the crossbones.
- Don’t be shy with pressing the top ball in! Press the top ball in really firmly, so it doesn’t slide off during baking.
Storing & Making Pan de Muerto Ahead
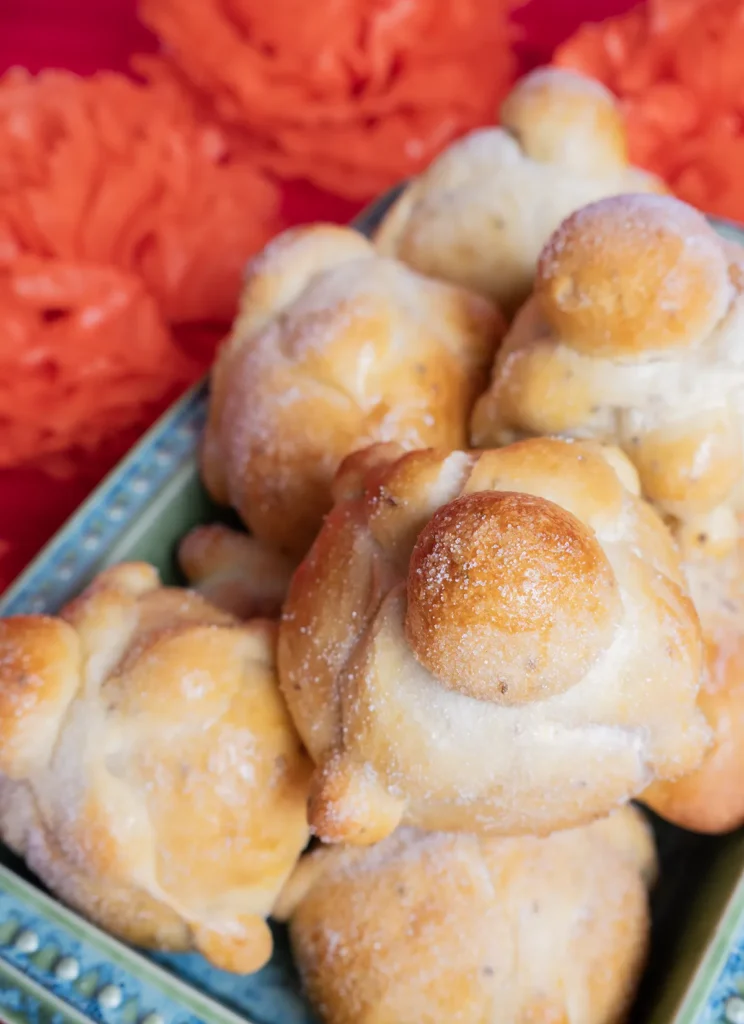
- Do a cold proof in the fridge after dividing and shaping the rolls. You can leave the dough in the fridge for up to 2 days, then bake straight from the fridge when you’re ready.
- Freeze baked rolls after letting them cool completely, but don’t brush any orange syrup on. When ready to serve, thaw the rolls out at room temperature. Then refresh in the oven at 350˚F (175˚C) for 8–10 minutes, then make a batch of orange syrup and brush it on the rolls when they come out of the oven. Toss the rolls in sugar if desired, and enjoy!
Tried this Recipe?
Leave a comment below and let me know how it turned out. And please leave a rating below, it helps other bakers discover this recipe!
Sourdough Pan de Muerto
Ingredients
Method
- Add 1 tbsp orange zest to 90 g sugar in a small bowl. Rub the zest into the sugar using your fingertips until it's very fragrant and the sugar resembles damp sand. Set aside.
- Add 120 g whole milk, 120 g starter, 3 large eggs, 525 g bread flour, 2 tsp fine sea salt, 1 tbsp anise seeds, and 1 ½ tsp orange blossom water to the bowl of a stand mixer. Attach the dough hook and mix on low speed until the dough comes together.
- Increase the mixer speed to medium-low and knead until the dough smooths out (3–5 minutes). Add 90 g unsalted butter one piece at a time, waiting until each piece disappears before adding another. Continue kneading until the dough is silky smooth and pulls away from the bowl (about 5–8 more minutes)
- Roughly shape the dough into a ball and transfer to a lightly-greased bowl or container at least double the size of the dough. Cover with plastic wrap or a damp kitchen towel. Leave at room temperature (68–72˚F / 20–22˚C).
- During the first couple of hours, give the dough 3 or 4 sets of stretches and folds about 30 minutes apart. To do a stretch and fold, reach under the dough with a lightly-wet hand, pull it up until you start to feel some resistance, then fold it over itself. Rotate the bowl 90 degrees and repeat until you've gone all the way around the dough.
- Continue bulk fermenting at room temp until the dough is soft and airy, and has increased in volume by 75-100%. This should take around 6–8 hours but will vary depending on your room temperature (and the temperature of the milk you used) so watch the dough, not the clock.The dough should have a lightly rounded dome and slowly spring back when gently poked.
- Divide the dough into 10 equal portions (or shape 1 or 2 larger loaves, see note 2). I recommend using a scale to divide it evenly so that each roll finishes baking at the same time.
- Working with one portion at a time (and leaving the remaining dough portions covered so they don't dry out), cut off about one-third of the dough and set aside. Shape the larger (two-thirds) piece of dough into a round, smooth ball: fold the sides into the center, then cup your hand over the dough with the seam on the bottom and touching the counter, and roll around a few times. This tightens and smooths out the top. Pinch the seam closed if needed. Brush an X on top with the egg wash.
- Divide the smaller piece of dough into 3 pieces. Roll two of the pieces until ropes long enough to cover the larger dough ball. Then spread your fingers out and press down while rolling to create 4 lumps in the rope. Place the ropes over the X. Shape the final piece of dough into a small, smooth ball and press it down very firmly over the center where the two bones meet.
- Transfer the shaped roll to a lined baking sheet, and cover with greased plastic wrap or a plastic baking sheet cover. Repeat with the remaining dough portions. Leave them to proof at room temperature until puffy and soft, about 2 hours. They don't need to double in size.
- When the rolls look like they're nearly done proofing, begin preheating the oven to 350˚F (175˚F). Brush the rolls with egg wash, and bake for 25–30 minutes or until puffy and golden brown.
- While the loaves are baking, juice the orange you zested earlier. Weigh the orange juice, and weigh out an equal amount of sugar and add both to a saucepan. Whisk to combine, and simmer on medium-low heat until the sugar is dissolved. Transfer to a heatproof bowl and allow to cool slightly.
- As soon as the Pan de Muerto comes out of the oven, brush the syrup all over the tops, and sprinkle sugar on top if desired. Serve once the syrup has set.
- These are best enjoyed the day they're made, but will keep at room temp in a bread box or paper bag for a few days. If they go stale, they also make amazing French toast or bread pudding!
Video
Notes
- I recommend using active, bubbly starter. Enriched doughs like this one area already harder for a starter to leaven, so if possible use a starter at peak or shortly after. A starving starter that smells of alcohol or acetone (or with a layer of hooch on top) will not only have a hard time leavening this dough, it could add strong flavours you may not like in this bread.
- You can make one or two larger Pan de Muerto loaves, or divide the dough into whatever number of loaves you like. If you do, keep this rule of thumb in mind: larger loaves take a longer time to proof and bake, and smaller loaves will proof and bake faster.
- If making large Pan de Muerto, there’s no need to transfer the sugar to a bowl at all. Just sprinkle sugar over the loaf.
Leave a Reply