Once you have a strong and bubbly sourdough starter, you’ll want to keep it that way by feeding and storing it in a way that works for your life and baking schedule. Read on to learn all my tips for keeping your starter at its best!
Some links in this post may be affiliate links. Read my disclosure policy.
Jump To:
- Why do you need to feed sourdough starter?
- How do you feed a sourdough starter?
- Why do you need to discard?
- How much flour and water do you need to feed a sourdough starter?
- How to adjust feedings so your starter works for your schedule
- What kind of flour should I use to feed my starter?
- What kind of container should I use?
- How often do I need to change or clean the jar?
- Where should you store your starter?
- Can I put my starter straight in the fridge after feeding?
- Feeding Sourdough Starter
Why do you need to feed sourdough starter?
A sourdough starter is a living culture of wild yeasts and beneficial bacteria that needs food and water to live. The organisms in sourdough starter metabolize the starches found in all kinds of flour, and produce enzymes necessary for fermentation. While it’s difficult to kill an established starter, if you don’t feed your starter for a while it will go dormant and weaken to the point where it won’t be able to leaven bread. If that happens, a feeding or two should bring it back to full strength.
Left unfed for long enough, a sourdough starter could weaken to the point where mold or harmful bacteria could take hold and the starter would have to be thrown away. It’s pretty rare for this to happen, but if neglected for long enough it’s possible.
How do you feed a sourdough starter?
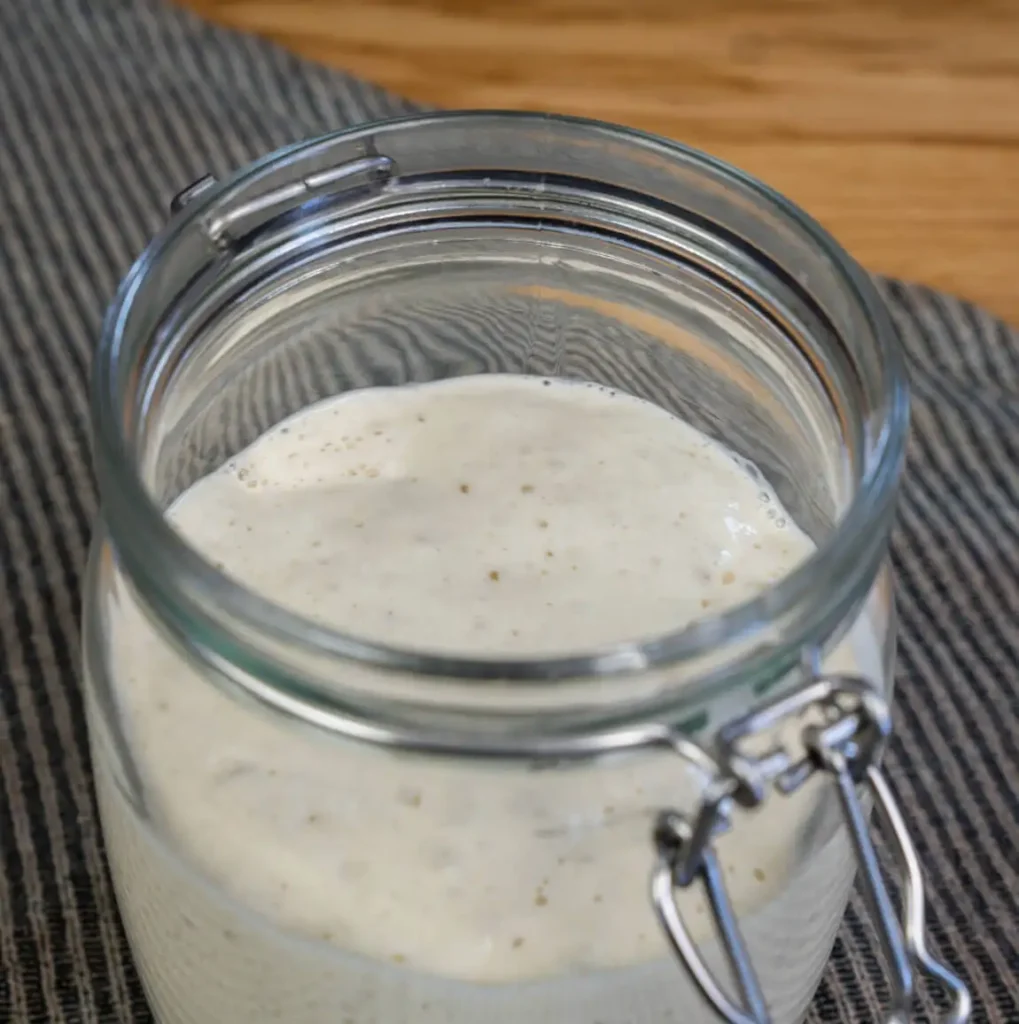
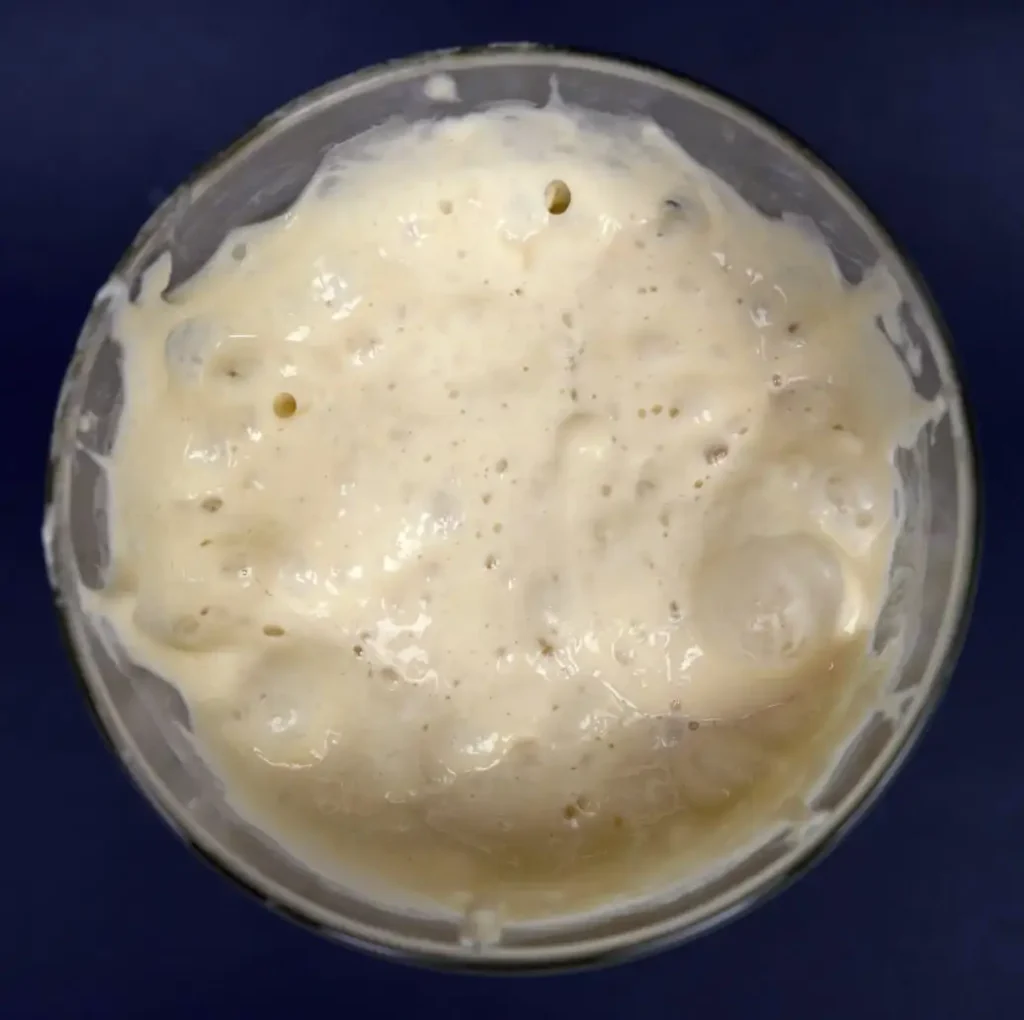
First, make sure your starter is either at peak (at its highest point of rise), or it has already fallen. It’s OK if you don’t know for sure whether the starter is definitely at its highest point of rise, but it should at least be doubled. Once you’ve taken care of your starter for a while you’ll get to know how high you can expect it to rise, but don’t sweat this too much in the beginning. The thing to keep in mind is to not feed it too long before its peak. Don’t discard and feed before it has at least doubled, or you risk weakening the culture by diluting the population of wild yeasts and bacteria.
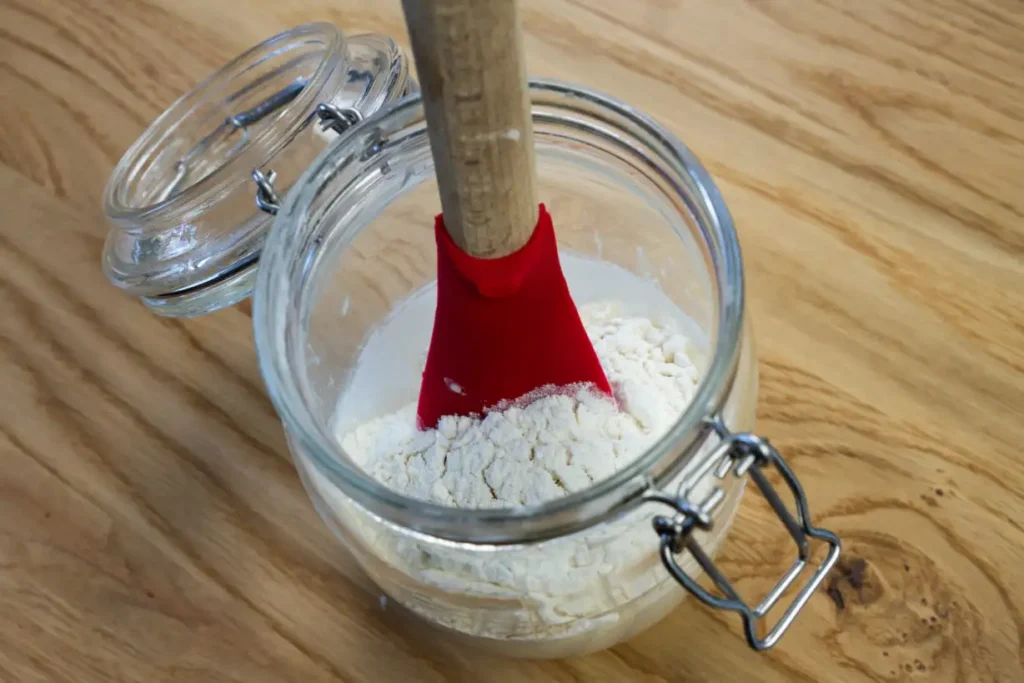
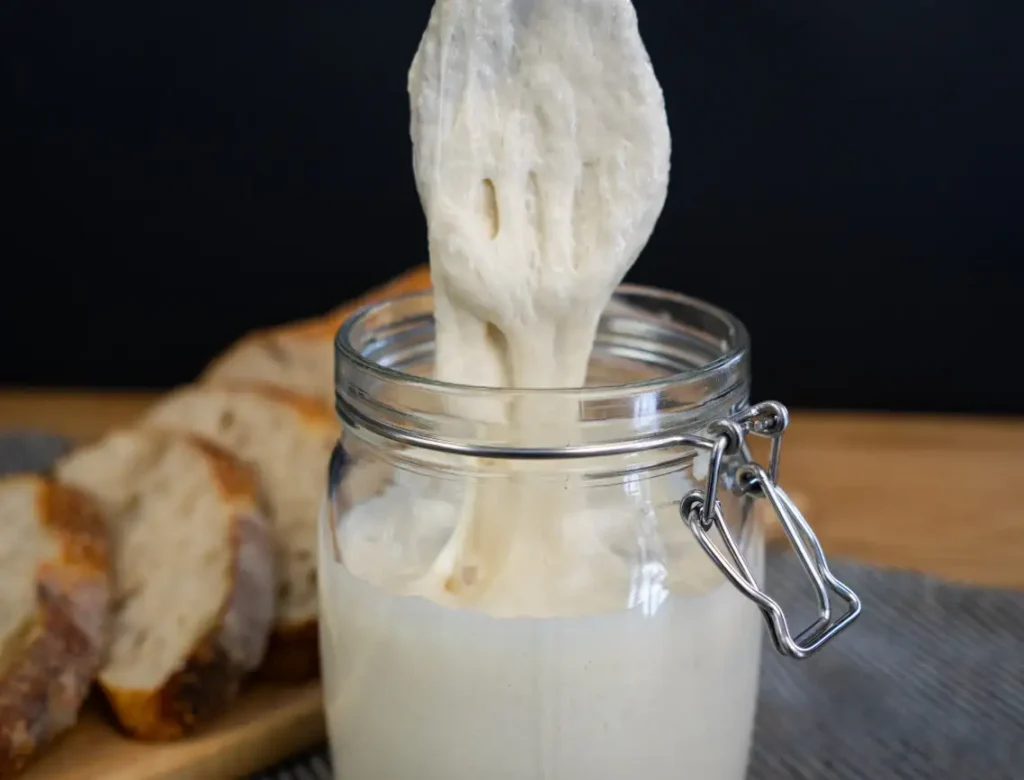
If your starter is ready to be fed, remove some from the jar. Then add equal amounts by weight of flour and water, stir to combine, and loosely screw on the jar lid.
Why do you need to discard?
While it may seem wasteful to regularly remove starter, it would actually cost far more to maintain your starter if you didn’t. You need to feed at least as much by weight of flour and water as the starter you’re feeding, so if you never discarded the amount of starter would quickly grow to the point where it would need several kilograms of flour at each feeding!
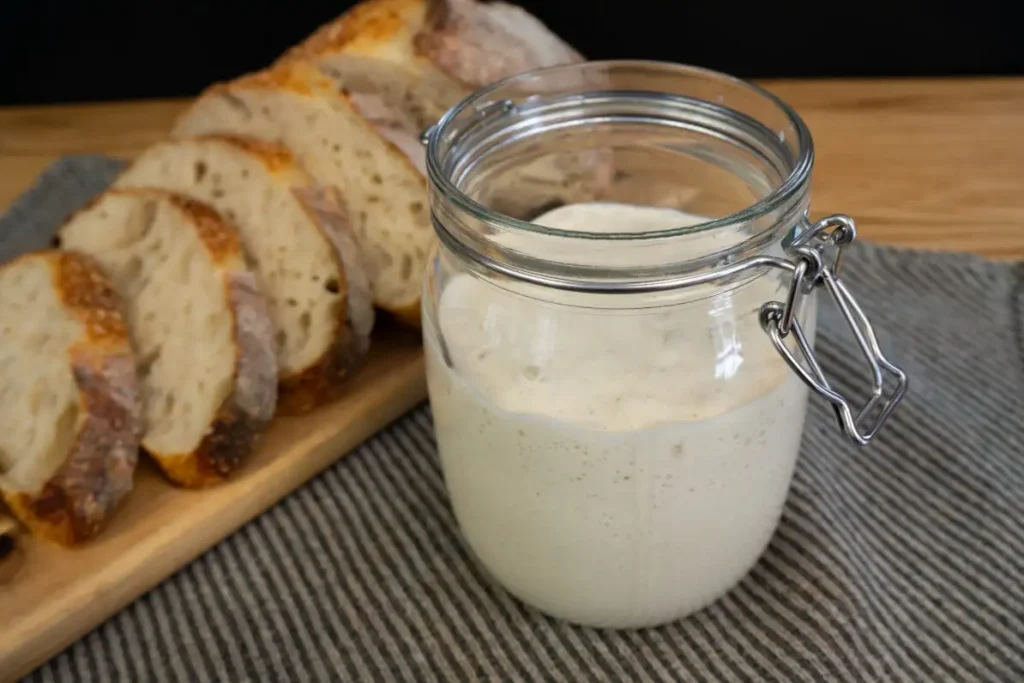
And after your starter is established, there’s no need to throw out the discard. If your starter was at its peak or shortly after, you can use it right away to bake some delicious sourdough bread. Or if the starter has fallen and is far past its peak, you can use it to make a yummy sourdough discard recipe (or save it in a container in the fridge to use in a discard recipe later).
How much flour and water do you need to feed a sourdough starter?
You have to feed at least the same weight in flour and water as the weight of the starter. If you have 50 grams of starter, you need to feed it at least 50 grams of flour and 50 grams of water. This is a feeding ratio of 1:1:1. That means 1 part starter to 1 part flour to 1 part water, by weight.
A 1:1:1 feeding ratio is the minimum feeding ratio, so that your starter doesn’t quickly starve. As long as you feed at least the minimum, it’s up to you how much you feed. You can use this to adjust your baking and feeding schedule:
How to adjust feedings so your starter works for your schedule
To make your starter to be ready for baking sooner, feed it less flour and water. In other words, feed it at a lower ratio like 1:1:1 or 1:2:2. At a lower feeding ratio, your starter will double sooner. A lower feeding ratio also means you’ll need to feed your starter more often.
To have a longer time between feedings feed it at a higher ratio. Even a ratio as high as 1:50:50 would work. It is surprising just how little starter you need to leave in the jar to keep it going! A high ratio is also a great way to rebalance the sourness and acidity for a starter that has been neglected.

What kind of flour should I use to feed my starter?
You can use just about any flour you’d use to bake bread, to feed your sourdough. I almost always use all-purpose flour because it’s easy to get and relatively inexpensive. Bread flour, rye, spelt, and whole wheat are all great to use as well. Rye and whole wheat flour contain extra nutrients and minerals that starter goes wild for. They’re a great choice to give your starter a boost whenever it’s sluggish!
The only flour you should really avoid is self-rising because it contains ingredients such as baking powder and sometimes salt. Both of those can inhibit the natural yeasts and bacteria in your starter. Finally, there’s no need to splash out for fancy organic flour unless that is important to you. I almost always use a cheap generic store brand unbleached all-purpose flour to feed my starter with great success.
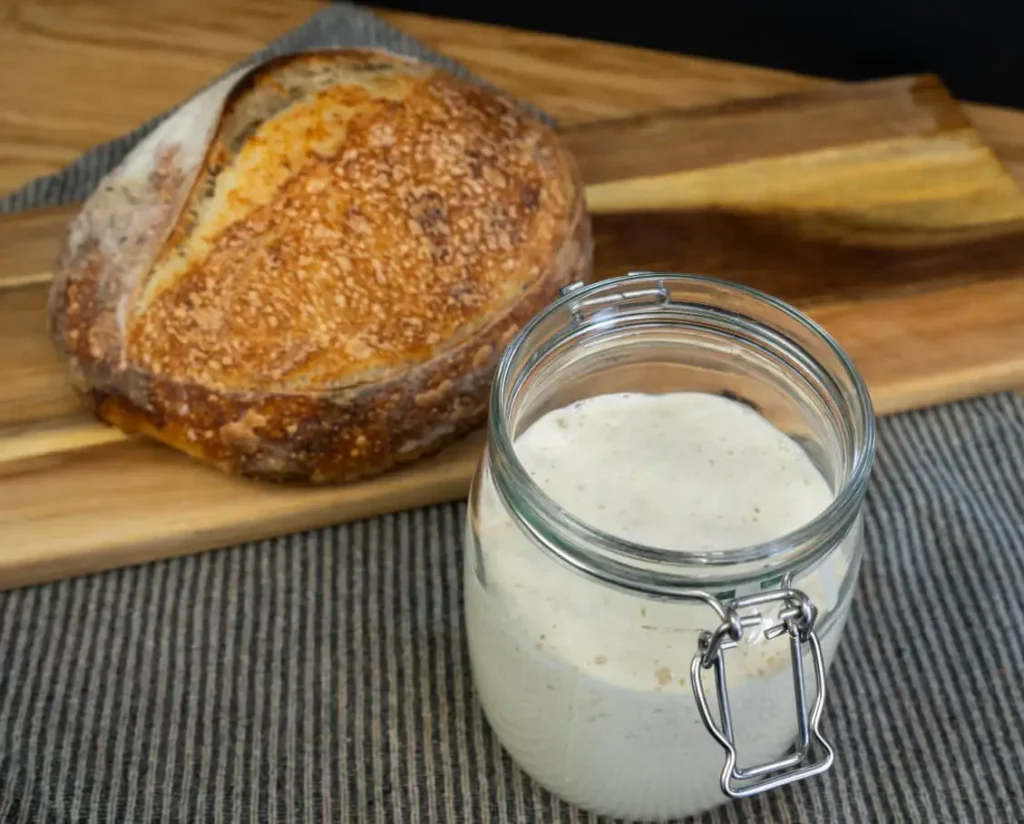
What kind of container should I use?
Any food-safe container will work. To have the easiest time managing your starter, keep these things in mind:
- Find a container that has a wide opening and little to no “shoulder”. That makes it easy to add flour and water to the jar and stir it. A wide mouth mason jar or Weck tulip jar are perfect.
- The size should be at least 3 times the size of your starter after feeding. You need to have enough room for the sourdough starter to expand without spilling over.
- A transparent container makes it easy to see if your starter has risen, is at its peak, or has fallen.
- Either food-safe plastic or glass are fine. If you want to use glass, make sure you keep a backup of your starter in case your jar breaks. That way you can get another starter going quickly and easily.
Whatever kind of jar or container you use, make sure to use the lid that came with it, but loosely. If your jar lid came with a rubber gasket, remove it. The idea is to keep out fruit flies and prevent the starter from drying out, while letting gases escape. Some sourdough bakers like to cover their jars with a paper towel or cloth secured by a rubber band. Unfortunately this doesn’t always do a good job of keeping the starter from drying out. It’s best to simply use the lid the jar came with.
How often do I need to change or clean the jar?
You don’t need to change to clean jar at every feeding. Trust your instinct—if the jar is getting gross and crusty, go ahead and switch to a clean jar. That said, your starter should be perfectly happy staying in its jar for a while! I’ve gone several weeks at a time between switching jars without a problem.

Where should you store your starter?
Decide where to store your starter based on how often you plan to bake with it:
- If you bake with your starter 2-3 times per week, store it on your counter at room temperature. That keeps it nice and active and ready to bake when you are. You’ll need to feed it once or twice a day.
- If you use your starter once a week, store it in the fridge. After baking, feed it to replace what you used.
- If you’re going to bake sourdough less than once a week, you should store your starter in the fridge. Remember to discard and feed at least every two weeks whether you’re baking or not. That’s the best way to keep your starter strong and healthy and prevent spoilage. Take your starter out 2-3 days before you bake and feed at least twice so it’s nice and active again.
Can I put my starter straight in the fridge after feeding?
Yes, but it’s better to give it a few hours at room temperature first. This is especially true if your starter has just come out of the fridge to be fed. Warmer temperatures favour yeast production, so doing this gives the wild yeasts a chance to flourish before going back in the fridge. That said, it’s unlikely to do your starter any harm by putting it right back in the fridge after feeding it. But regularly giving your starter some time at room temperature is a good way to keep it strong.
Feeding Sourdough Starter
Ingredients
Equipment
Method
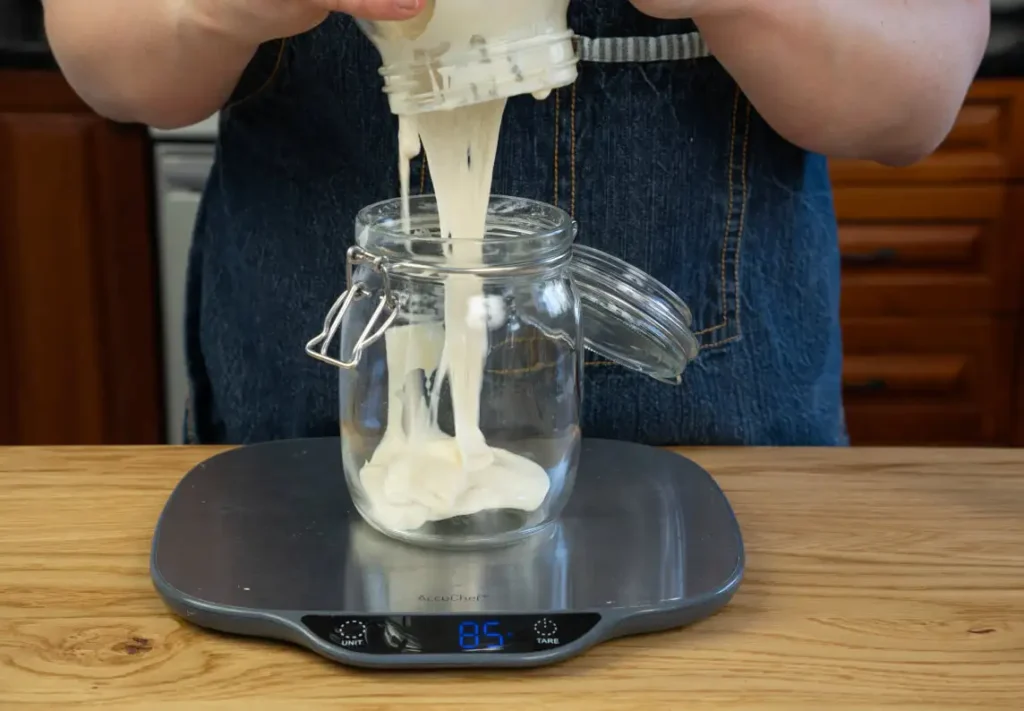
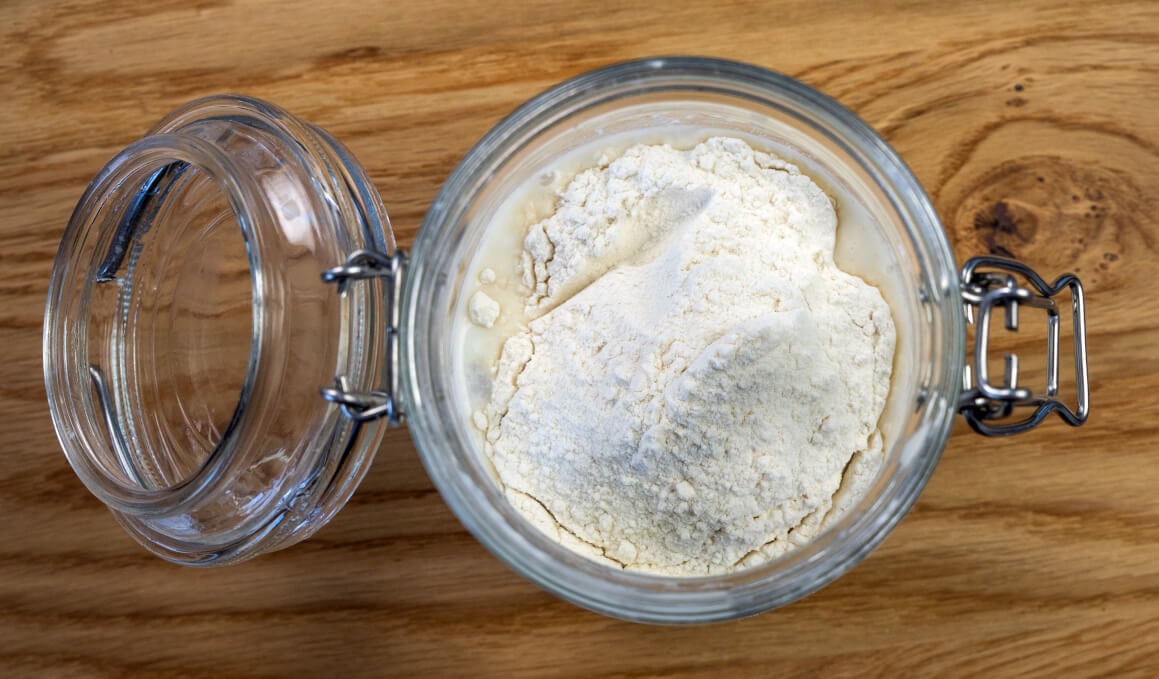
- Measure out 10 grams sourdough starter or discard into a clean jar, or if you know the weight of the jar the starter is in when empty, just pour out enough starter until about 10 grams remain. If you have a hard time measuring 10 grams on your scale, you can simply put about a plum-sized blob of starter on your spatula and place that in a clean jar. It's not super important to have an exact weight for your starter, so don't sweat it!
- Add 100 grams water and 100 grams flour, and stir with a rubber spatula until combined and no dry bits of flour remain.
- Scrape down the sides of the jar, and lightly screw on the lid to allow gases to escape. You may want to mark the level of the starter with a rubber band so you can tell how much it rose.
- Leave at room temperature if you will be baking in the next day or two. If you usually bake only once per week or less, leave the starter at room temperature for a few hours and then store in the fridge.
Melodie says
Hello. I don’t know gms. You said you had it both gms and cups. Can you send me all the cup measurement. I really want to make your bread. I’ve never made bread. Thanks melodie
Joanna Rankin says
Hi Melodie,
I highly recommend using a scale, they’re inexpensive and way more accurate (and also less messy!). And if you’ve never made bread before, measuring the ingredients accurately means you have one less variable in the recipe to think about, because no matter what else happens you know that your ingredient amounts are correct. Flour can either be compressed or light and fluffy, so one cup of flour isn’t always the same as another.
The post where I use both grams and cups is my how to make a starter tutorial, but you can use this conversion as a rule of thumb:
50 grams of water is a little less than 1/4 cup, or 3 tablespoons + 1 teaspoon.
50 grams of starter is about 1/4 cup.
50 grams of flour is about 1/2 cup.
Hope this helps!
Ann Kluga says
I have watched your video on how to make a sourdough starter, and I find it very easy to understand and very detailed. So, thank you. This is my second attempt at making a strong starter. In phase two, my starter seems watery. I am using rye and all-purpose unbleached flour in the increments you mention in your video. Should I be feeding it twice a day? I have the sourdough home that my sourdough starter lives in. Thank you for your help.
Joanna Rankin says
Rye has much less gluten than even all-purpose flour, so it will seem looser and won’t rise as high as one made with all-purpose or bread flour. There should still be plenty of yeast activity going on though! It should still rise noticeably though, at least once it gets past the point of being dormant after the false rise. If your starter is rising and falling before you get to it to feed it again, you can either increase how frequently you feed it OR reduce the amount of starter you leave in the jar to be fed so the starter has enough “food” so it takes longer rise and fall and you don’t have to feed it as often. I hope that makes sense!