Apple butter that tastes like it simmered all afternoon, ready in just 30 minutes! It’s perfect in lots of fall recipes, slathered on toast or a muffin, or just eaten by the spoonful. What’s not to love?
Some links in this post may be affiliate links. Read my disclosure policy.
Jump To:
Prefer to Watch Instead of Read?
What Is Apple Butter, and Why Use an Instant Pot?
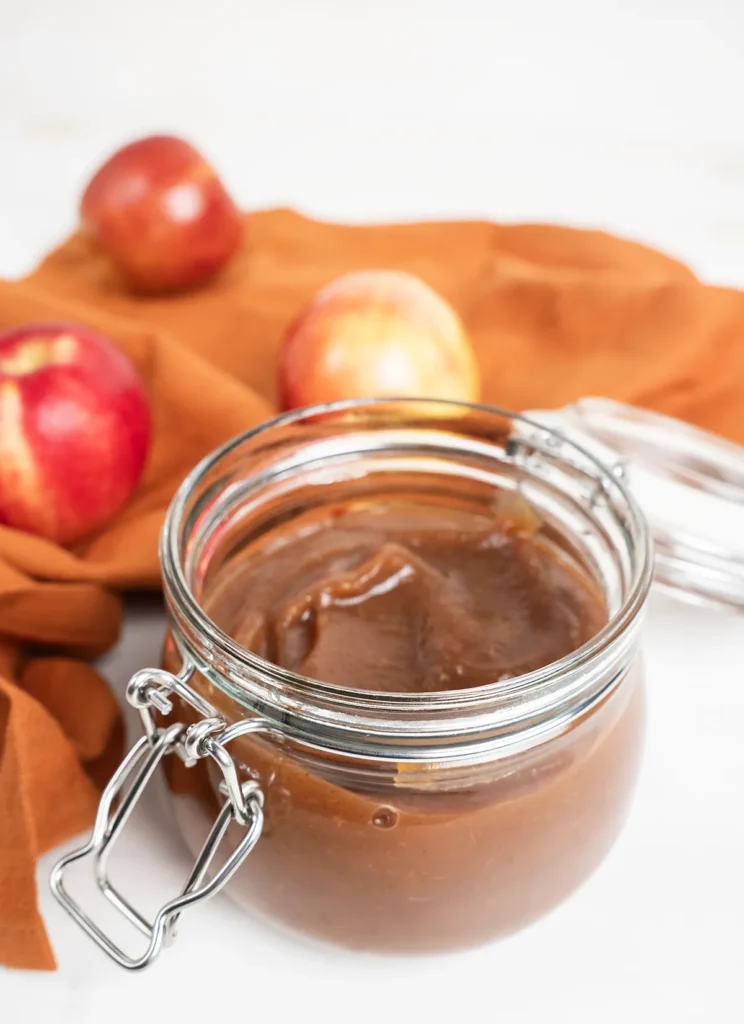
Apple butter is a thick, silky smooth spread made with apples and cozy fall spices. There’s no butter in it, but it gets the name thanks to its rich and buttery texture. It’s similar to applesauce in that both are made from apples that are cooked until soft. Apple butter is cooked much longer than apple sauce, making it much thicker The sugars also begin to caramelize, giving apple butter its characteristic toasty brown colour.
Normally you’d have to simmer apple butter on your stovetop or slow cooker for several hours to get apples to reach this gorgeous consistency. Using an Instant Pot cuts this time down to just 20 minutes of pressure cooking plus a 10-15 minute sauté to thicken.

Why You’ll Love this Recipe
- It’s so fast to make with no compromise on flavour or texture, thanks to using a pressure cooker.
- Apple butter is the perfect way to use up whatever apples you have on hand, even if they’re starting to get a little past their prime.
- There’s no need to peel the apples first!
- Your entire house will smell like fall in the best possible way.
Best Apples for Apple Butter
You can use whatever apples you happen to have on hand and still get delicious apple butter. But for the best balanced flavour and texture, you can be more intentional about which apple varieties you use:
- Use mostly sweet apples that break down easily, like Gala or MacIntosh.
- Include a few tart apples to balance the sweetness, such as Granny Smith or Northern Spy.
- If you’d rather just stick to one type of apple, you can’t go wrong with Honeycrisp!
See my Miso Caramel Apple Pie recipe for a comprehensive list of apple varieties to help you choose!

Ingredients You’ll Need
- Apples of course! See above for some pointers on how to choose the best varieties. Leave the peels on; they’ll help thicken the apple butter thanks to the natural pectin they contain.
- Brown sugar adds sweetness to balance the acidity of the apples, and adds to the deep brown colour that apple butter is known for.
- Apple cider or juice adds the liquid the instant pot needs to create the steam to cook the apples, while adding flavour. It also helps keep the apple butter silky smooth.
- Cinnamon adds a cozy warmth. Try making your own smoked cinnamon for added depth of flavour if you’re up for a project! You can also add other fall spices like nutmeg, ginger, cloves, or allspice, but I love keeping it simple with just cinnamon.
- Salt enhances the flavour of the apples and brown sugar. I like using fine sea salt.
- Vanilla extract rounds out the flavours and adds a warm base note. If you don’t have any vanilla extract, learn how to make your own in just four hours here!
Pro Tips for the Best Apple Butter
- Leave the peels on! This is one of those rare times when laziness actually pays off. Apple peels naturally contain pectin, which will help thicken your apple butter (as well as adding to its gorgeous colour). A lot of traditional recipes call for removing the peels because stovetop cooking wouldn’t always break the peels down very well. A pressure cooker will soften the peels completely, so you’ll be left with gorgeous silky-smooth apple butter, peels and all.
- Use a blender for the smoothest texture. A stick blender will get you most of the way there if you’d rather keep it simple, but a proper blender is the best way to get a beautifully smooth texture. I’ve had my Vitamix blender for over a decade now and use it a few times a week. It’s still showing no sign of slowing down and I recommend it wholeheartedly.
- Sauté for 10–15 minutes to cook off the excess moisture, caramelize the sugars, and thicken the sauce. You’ll know it’s done when it coats the back of a spoon that you can draw a line through.

Storing Apple Butter
Apple butter can be stored in the fridge in an airtight container for about 3–4 weeks. Always use a clean spoon or knife in the jar to avoid cross-contamination, which could speed up spoilage.
You can freeze apple butter in a freezer bag or airtight freezer-safe container for up to 6 months. If you’re freezing it in a jar make sure to leave a couple inches of headspace to allow for expansion.
Apple butter can also be canned for long-term shelf storage—learn how to do it here.

Uses for Apple Butter
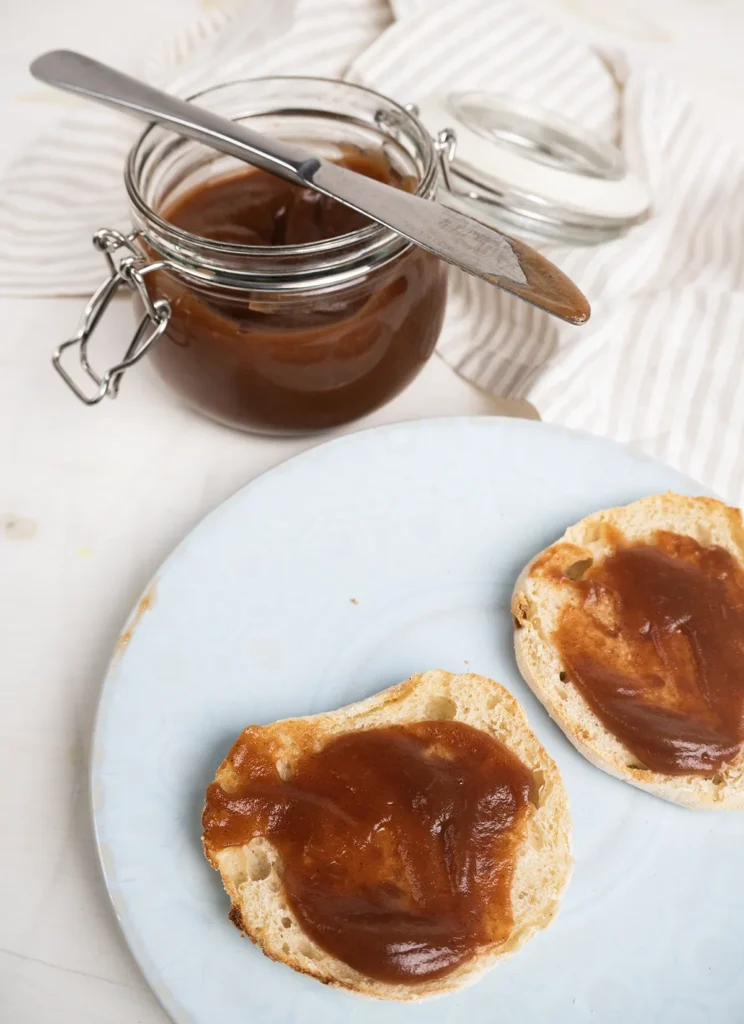
- Spread on toast, muffins, biscuits.
- Stir it into oatmeal or yogurt.
- Use as a filling for donuts, babkas, or other breads and pastries.
- Swap out some of the buttermilk or other liquid in a cake or waffle recipe.
- Use it as a flavourful glaze for ham or in a barbecue sauce.
FAQs
Nope! It’s actually better if you leave the peels on. Apple peels naturally contain pectin which will help thicken your apple butter.
Pressure cookers are completely sealed, so there’s nowhere for the liquid to escape while the apple butter is cooking. So when you first open the Instant Pot it’s normal for your apple butter to be a little thin and watery. Set it to sauté mode to cook the excess liquid off for about 10–15 minutes. This step also begins to caramelize the sugar in the apple butter which adds to its flavour and colour.
Yes, whatever apples you have on hand can be used to make delicious apple butter. See my post above for notes on how to choose apple varieties for the best balanced flavour and texture.
Made this Recipe?
Please leave a review below, and leave a comment to let me know how it turned out!

30-Minute Instant Pot Apple Butter
Ingredients
Method
- Remove the cores and roughly chop 2 kilograms apples. Place into an Instant Pot along with 150 g brown sugar, 60 g apple cider or juice, 2 teaspoons ground cinnamon, and a pinch fine sea salt.
- Close the lid, set the valve to sealing, and pressure cook on high for 20 minutes.
- Quick-release the steam carefully. Use a stick blender to smooth the apple butter out, then move on to the next step.For an even smoother texture, transfer the apple butter to a blender and blend until completely smooth. If doing this straight from the Instant Pot, make sure your blender jar is heatproof and your lid is vented to allow stem to escape. If your blender is not heatproof, you can let the apple butter cool down first and then blend it. Return it to the Instant Pot for the next step.
- Set the Instant Pot to sauté for 10–15 minutes to cook off the excess liquid to thicken the apple butter. Stir it from time to time to calm the bubbling down. Please note that it will sputter and make a mess near the Instant Pot, so please plan accordingly.
- Transfer to a food-safe storage container. I like using mason jars for storing in the fridge (for up to 3–4 weeks). If freezing, let the apple butter cool down to room temperature before ladling into jars (leaving about 2" of headspace to allow for expansion) or heavy-duty freezer bags and freezing for up to 6 months.
Leave a Reply