I’ve been chasing the perfect butter tart recipe for months—something gooey, caramel-y, rich, and cradled in a buttery crust. But after scraping yet another batch of stuck-on tarts out of my muffin tin, I decided I had had enough and it was time to simplify! These squares have all of the delicious butter tart flavour you know and love, but in a super easy-to-bake bar format. No rolling out pastry dough, lining individual muffin tins, or stressing over whether you poured enough or too much filling into each well.
Some links in this post may be affiliate links. Read my disclosure policy.

Jump To:
Why You’ll Love These Butter Tart Squares
- All the classic butter tart flavour, with none of the fuss.
- No rolling, cutting, or re-rolling dough (you’re welcome!)
- Simple pantry ingredients you probably already have.
- A Classic Canadian butter tart flavour with a few flavour upgrades!
- Make-ahead and freezer friendly!

Where Did Butter Tarts Come From?
Butter tarts are a proudly Canadian dessert, born in Ontario more than 100 years ago from humble pantry staples. Over time, they’ve evolved—with riffs including everything from raisins (controversial!) to chopped candy bars. I’m firmly team no-raisin, but you do you. This bar version is my nod to the classic, with a few upgrades to make it more weeknight-baking-friendly.
Butter tarts are a classic Canadian dessert that originated in Ontario over a hundred years ago, made from pantry staples. Over the years they’ve evolved with variations including everything from the ever-controversial raisins to chopped up candy bars. I’m 100% on the no-raisin team, but you do you! This bar recipe is my love letter to the classic butter tart, with a few mods to make it tastier and easier to make.

Ingredients You Need to Make Butter Tart Squares
For the Cookie Crust
- Butter holds the crust together and adds richness.
- Sugar adds sweetness and helps the crust brown in the oven.
- Egg yolk adds richness and softness.
- Vanilla extract adds warm and complex flavour notes.
- Sea salt enhances the flavour.
- Buttermilk or sourdough discard makes the crust tender and adds a subtle tangy flavour.
Optional Mix-Ins
You can add any mix-ins you like! Sprinkle chopped nuts, Reese’s pieces, or, if you actually like that sort of thing, even raisins.
For the Filling
- Brown sugar is the main ingredient, responsible for the signature butterscotch-y flavour butter tarts are known for.
- Powdered milk adds a creamy flavour and helps the filling brown while baking.
- Salt enhances the flavour.
- Eggs hold the filling together and help it set.
- Corn syrup keeps the filling gooey and prevents crystallization. You can use maple syrup to earn some extra Canadian cred (and get a stronger flavour).
- Butter adds richness and keeps the filling nice and smooth.
- Vanilla Extract adds a warm depth of flavour.
- Lemon juice or vinegar cuts through and balances the rich sweetness of the filling.
How to Get The Perfect Butter Tart Texture Every Time
For Gooey Butter Tart Squares
- Add up to 75 grams (about ¼ cup) of extra extra corn or maple syrup.
- Decrease the brown sugar by 15-20 grams (about 2 tablespoons).
- Bake just until the edges are set and the middle is still jiggly.
- Cool completely to room temp before slicing.
For Firm & Chewy Butter Tart Squares
- Increase the brown sugar by 15-20 grams (about 2 tablespoons).
- Reduce the corn or maple syrup by 75 grams (about ¼ cup).
- Add an egg yolk or a tablespoon of flour to the filling.
- Bake a few minutes longer until the edges puff slightly.
- Cool to room temp, then chill in the fridge overnight.

Butter Tart Variations Worth Trying
Try sprinkling one of these add-ins over your crust before pouring in the filling:
- Dried cherries or apricots
- Candied ginger
- Toffee bits, chocolate chips, or chopped chocolate
- Chopped candy bars (Reese’s, Oh Henry, Snickers, etc.)
- Chopped cookies (Oreos, Chips Ahoy, Speculoos, etc.)
- Candied orange peel

Make-Ahead and Storage Tips
Butter tarts can be stored at room temperature for 1-2 days. After that, refrigerate or freeze any leftovers.
To freeze, let the slab cool completely at room temperature. You can either freeze the whole slab, or cut into individual squares first. Either way, wrap in aluminum foil and plastic wrap and store in an airtight container. They should keep well in the freezer for up to 3 months. When ready to serve, let them thaw in the fridge then bring back up to room temperature.

FAQs
Butter tarts are a classic Canadian dessert featuring a flaky pastry shell filled with a super sweet, rich and gooey filling made with butter, loads of sugar and syrup, eggs, and often raisins or nuts. They’re traditionally made in muffin or tart tins.
Yes, just swap out the all-purpose flour with a gluten-free replacement such as Cup4Cup.
Not quite. Pecan pie has a richer custardy filling, and is usually served as slices of a large pie. Butter tarts have a lighter (but still rich) buttery filling, and don’t always include nuts. They’re usually served as individual tarts, though my butter tart recipe is baked in a square tin to make the process simple and easy!
Yes! Let the slab cool completely at room temperature. You can either freeze the whole slab, or cut into individual squares first. Either way, wrap in aluminum foil and plastic wrap and store in an airtight container. They should keep well in the freezer for up to 3 months. When ready to serve, let them thaw in the fridge then bring back up to room temperature.

Authentic Canadian Butter Tart Squares
Ingredients
Method
- Preheat the oven to 350˚F. Spray an 8 x 8" (20 x 20 cm) baking pan with baking spray, and line with overlapping rectangles of parchment paper.
- Add 113 g unsalted butter ad 50 g granulated sugar to a mixing bowl and beat until smooth, light and fluffy, about 2-3 minutes. Add 1 large egg yolk and 1 teaspoon vanilla extract and beat until smooth. Finally, add 210 g all-purpose flour, ½ teaspoon fine sea salt, and 1 tablespoon buttermilk or sourdough discard and beat until smooth.
- Dump into the lined pan and press down with your fingers or a drinking glass until compact, level, and smooth. Bake for 18-20 minutes until just starting to get golden.
- While the cookie crust is baking, make the filling. To a medium mixing bowl add 150 g brown sugar, 2 tablespoons powdered milk, ¼ teaspoon fine sea salt, 2 large eggs, 160 grams light corn syrup, 60 grams unsalted butter (melted), 1 ½ teaspoons vanilla extract, and ½ teaspoon lemon juice. Whisk until smooth.
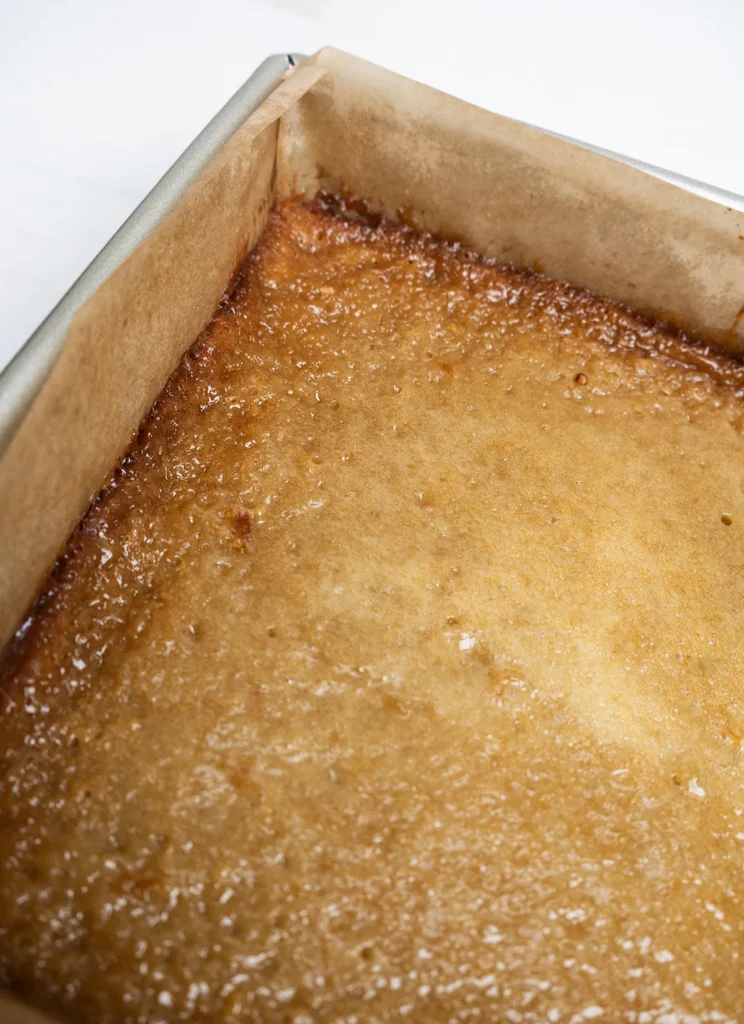
- Pour over the pre-baked cookie crust while it's still very warm. Return it to the oven and bake for 28-32 minutes, or until the filling is set on the edges and slightly jiggly in the middle (see the post above for notes on how to adjust the bake time and ingredients for a firm and chewy or more gooey filling).
- Let the pan cool completely at room temperature before lifting the slab out by the parchment slings. Or after cooling completely, refrigerate overnight for cleaner slices. Cut into either 9 large squares (3 rows of 3) or 16 small squares (4 rows of 4).
Hollie says
Can this be doubled and made in a 9×11?
Joanna Rankin says
Hi Hollie!
The recipe is meant for an 8-inch square pan, so doubling would be a little bit too much. The area of a 9 x 11 pan is about 1-and-a-half times the area of an 8-inch square pan, so I would multiply all of the ingredient quantities by 1.5. Hope this helps!