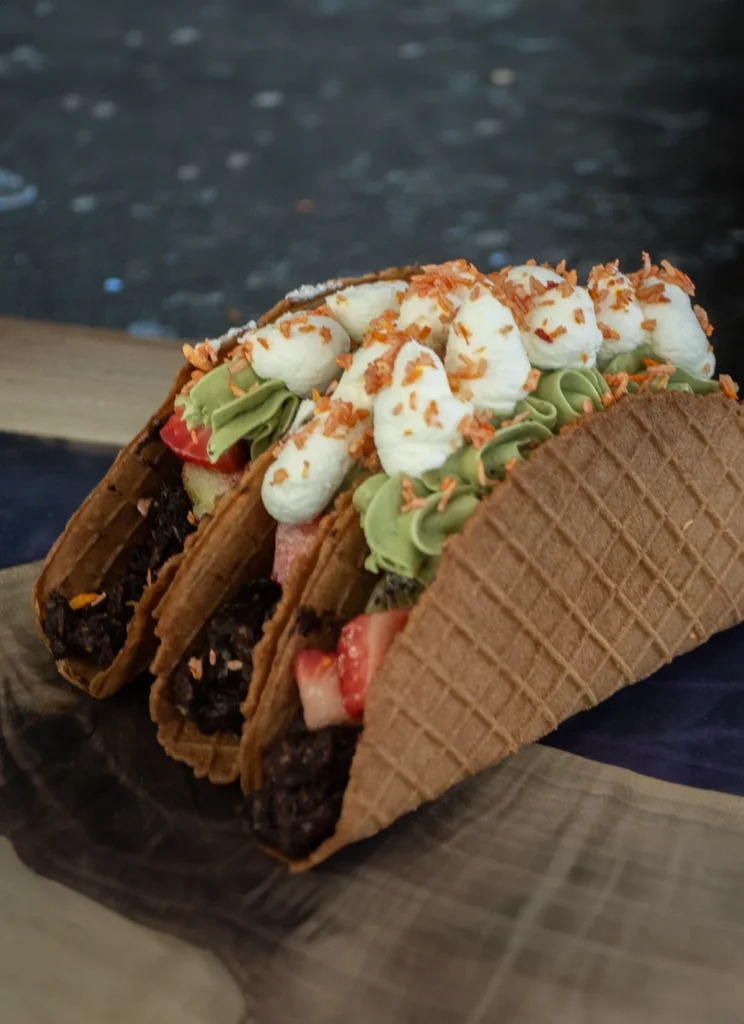
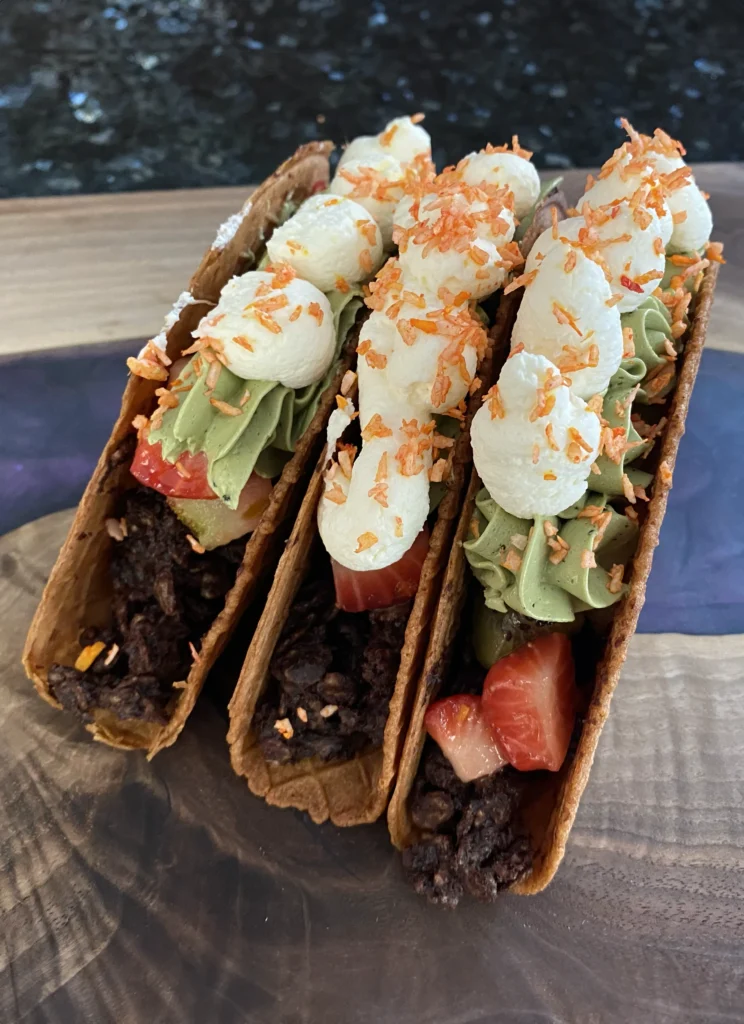
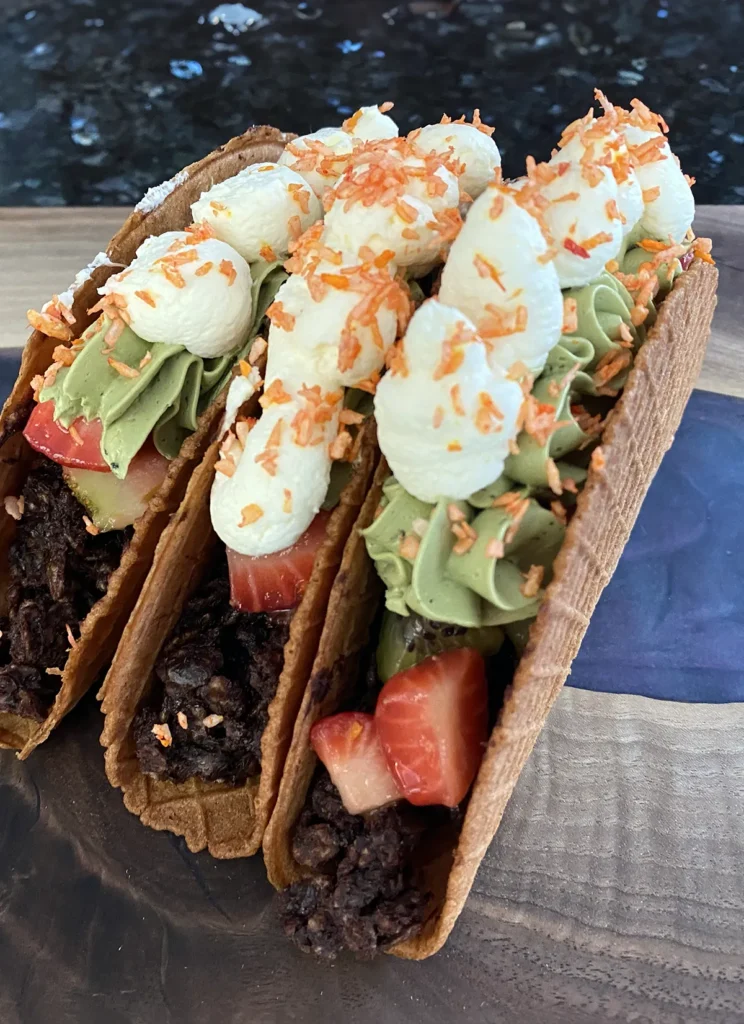
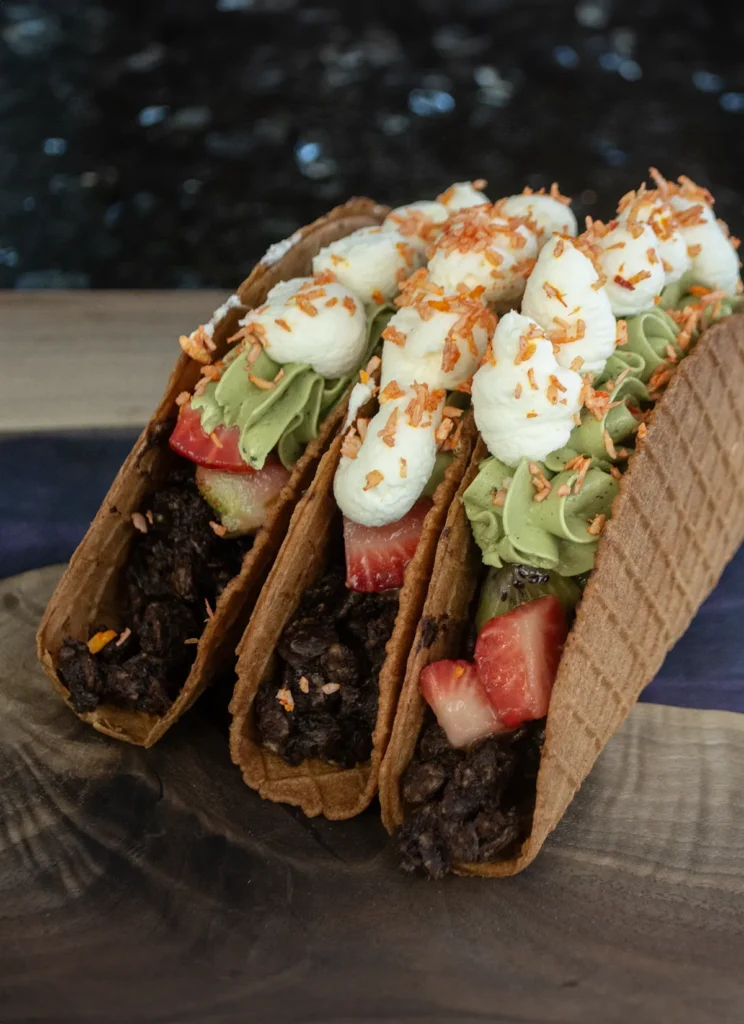
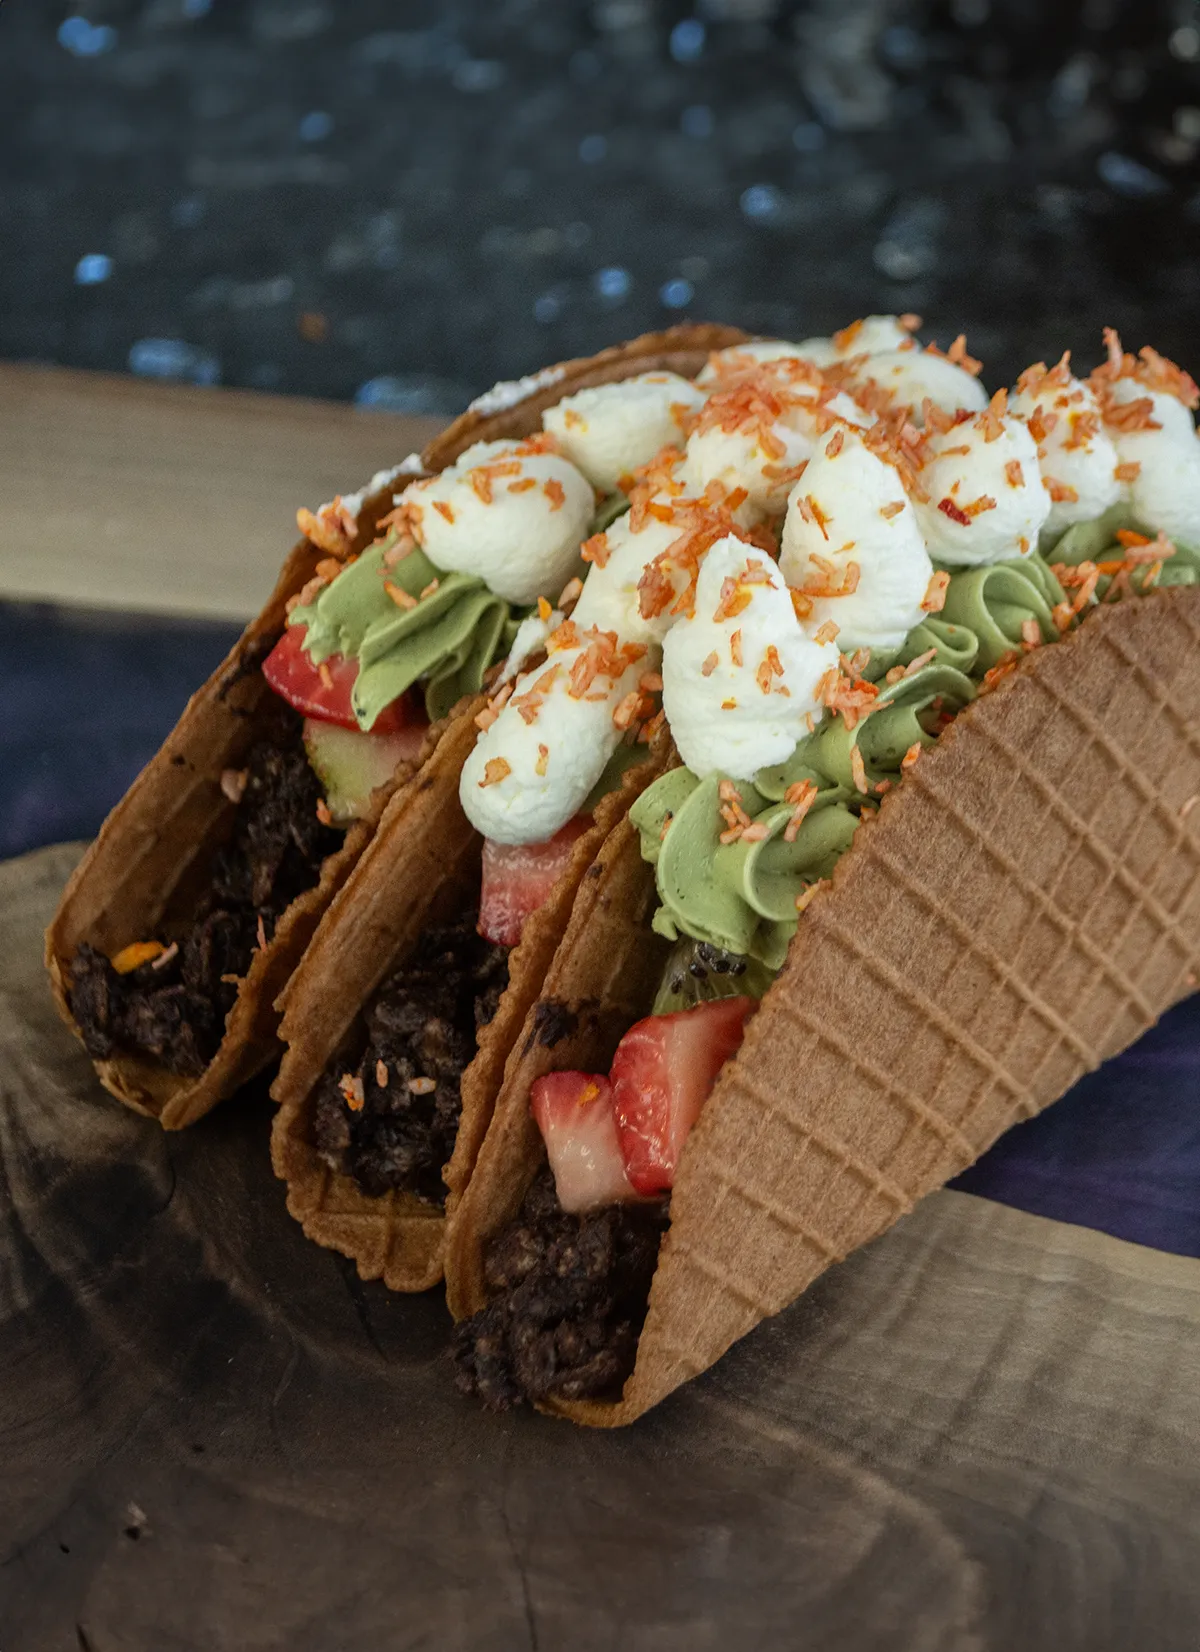
These dessert tacos aren’t just a cute fake—they’re seriously yummy. Crispy, creamy, fruity, and chocolatey all at the same time, they deliver big flavour in a fun, taco-shaped package!
Some links in this post may be affiliate links. Read my disclosure policy.
Jump To:
You’re Going to Love These Dessert Tacos
- They’re so easy to make, and look (almost) just like real tacos. There’s no reason why Taco Tuesday should be limited to dinner!
- They combine lots of different flavours and textures that all just work together for a fun and satisfying dessert. There’s the crispy waffle cone shell, the crunchy “ground beef” ganache and puffed rice, the fresh fruit “salsa”, and the creamy whipped cream and matcha buttercream. Yum!
Prefer to Watch Instead of Read?
Tips for Success
- Shape the waffle cone taco shells right after they come out of the waffle iron. Use a clean kitchen towel to avoid burning your hands. They firm up as they cool down and you won’t be able to bend them into a taco shell shape.
- Use room temperature butter to make the matcha buttercream, and make sure the swiss meringue has completely cooled to room temperature before starting to add the butter one piece at a time.
Key Ingredients You’ll Need
- Fresh fruit gets chopped up and mixed into a fruit “salsa”. You can use any combination of fruit you like, including berries, kiwis, mangoes, etc. Since this is meant to look like a salsa, I recommend using lots of red fruits and include a couple of other colours for visual interest. If you want to use frozen fruit, just thaw it out and drain off the excess juice first.
- Jam is used almost like a sauce to bind the fruit salsa together. I like using strawberry or apricot jam, but you can use any jam you like.
- Shredded coconut is dyed with orange food coolouring and sprinkled on top of the used to make the “grated cheese” on top of the tacos. You can use sweetened or unsweetened coconut.
- Matcha powder is used to colour the buttercream and make it look like guacamole. No need to splash out for ceremonial matcha—an inexpensive baking grade matcha is good enough.
- Instant vanilla pudding mix is used to stabilize the whipped cream and keep it from weeping for several days. It also adds just a little sweetness, so I find it’s not necessary to add any sugar.
- Chocolate and puffed rice cereal are used to make the “ground beef” topping for the dessert tacos. You can use chocolate chips or a chopped chocolate bar.
Equipment You Need to Make Dessert Tacos
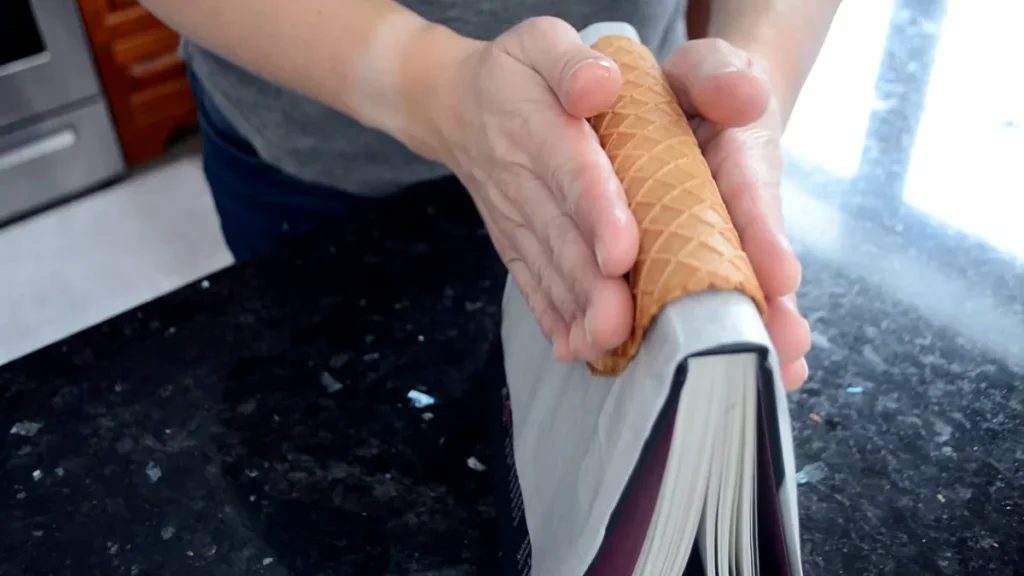
You should have almost everything you need in your kitchen already. The only unusual piece of equipment you’ll need is a waffle cone maker, to make the taco shells. This is the waffle cone maker I use. You’ll also need a book that’s about 1″ (2.5 cm) thick covered with a piece of parchment paper for shaping the cooked waffle cones into a taco shell shape after they come out of the iron.
How to Shape Waffle Cone Taco Shells
Cover the spine, front, and back covers of a hardcover book with a sheet of parchment paper. Cook a portion of the batter in your waffle cone maker until fully cooked, according to manufacturer’s directions. Take the cooked flat waffle out of the maker and immediately drape it over the spine of the book. Use a clean kitchen towel to help you press the waffle flat against the book without burning your hands.
Making Dessert Tacos Ahead
You can make all of the components in advance and assemble the tacos right before serving. Here are some tips for how to make and store each element ahead:
The waffle cone taco shells can be made and shaped up to 1 day ahead. Store them in a Ziploc bag or airtight container at room temperature to prevent them from softening.
The chocolate “ground beef” can be made up to 3 days ahead and stored in the fridge. Bring it up to room temperature before spooning them into the shells.
The fruit “salsa” can be made up to 1 day ahead and stored in the fridge.
The stabilized whipped cream can be made up to 2 days in advance and stored in the fridge.
The matcha buttercream can be made up to 2 days in advance and stored in the fridge. Bring it back up to room temperature and re-whip in the stand mixer until it reaches a pipable consistancy before using.
The coconut “shredded cheese” can be made up to 5 days in advance. Let it dry out completely and store in a ziploc bag.

FAQs
These are best eaten within a couple hours of being assembled. You can store leftovers in the fridge wrapped in plastic wrap or in an airtight container, but the fillings will make the waffle cone taco shell soften.
No, the texture of the fillings won’t be very good after thawing out. These are best enjoyed within a couple hours of being assembled.
Yes, swap out a gluten-free all-purpose flour blend such as Cup4Cup for the flour used in the waffle cone taco shells.
Dessert Tacos
Ingredients
Method
- Whisk 90 g all-purpose flour, ½ tsp kosher salt, ¼ tsp ground cinnamon, and the 86 g powdered sugar in a medium bowl.
- Using an electric mixer on medium-high speed, beat 3 large egg whites and remaining 14 g powdered sugar to stiff, fluffy peaks.
- Fold dry ingredients into egg white mixture until just blended. Fold in 70 unsalted butter and mix until all is incorporated.
- Scoop about 2 tbsp.–1/4 cup of batter at a time onto a preheated waffle cone iron and cook until golden brown, about 3 minutes.
- While still warm, drape over the spine of a book about 1” thick, lined with a piece of parchment paper. Leave until cool and firm. Repeat with the remaining batter.
- Store in an airtight container until ready to use.
- Place 100 g semisweet chocolate chips in a heat proof bowl. In a separate bowl or saucepan, heat 75 g heavy whipping cream either in the microwave or on the stove until hot but not boiling.
- Pour the cream and 1 tbsp Corn syrup over the chocolate, and allow to sit for 1–2 minutes until the chocolate begins to melt. Whisk the cream and chocolate together until completely smooth and glossy.
- Leave to cool at room temperature for 15–20 minutes, before gently folding in 100 g chocolate puffed rice cereal.
- Leave at room temperature until ready to assemble the tacos.
- Dice 1 lb Assorted fresh fruit into pieces about 1/2” in size.
- Heat up the 85 g Apricot or strawberry jam until runny. If desired, you can strain the jam to remove any seeds.
- Gently fold the jam into the diced fruit. Refrigerate until ready to assemble tacos.
- Whip 1 cup heavy whipping cream and 1 tbsp Instant vanilla pudding mix to stiff peaks.
- Refrigerate until ready to use, then transfer to a piping bag fitted with a large round tip.
- Whisk 2 large egg whites and 110 g granulated sugar in a metal or glass stand mixer bowl until combined.
- Set the bowl over a pot of barely-simmering water, and whisk continually until the mixture is very warm and the sugar crystals have dissolved (about 7–8 minutes).
- Transfer to the stand mixer, and whip with the whisk attachment on medium high speed until the meringue cools down and reaches stiff peaks, 5–10 minutes.
- Add 200 g unsalted butter one piece at a time, waiting for each piece to disappear into the meringue before adding the next one. Don’t worry if the buttercream appears curdled at one point, by the time you add all the butter it should be fine.
- Add 1 tsp Vanilla extract and 1 tbsp Matcha powder, and whip until smoothly incorporated. Transfer to a piping bag fitted with a large star tip. Ideally, make this just before assembling the taco
- Place 45 g shredded coconut in a ziploc sandwich bag. Add 3–4 drops of orange gel food colouring, or 3 drops yellow and 1 drop red. Close the bag tightly.
- Squish the coconut and food colouring together until evenly coloured. Adjust with more food colouring if you want a more saturated colour.
- Open the bag to dry and set aside until ready to assemble tacos.
Leave a Reply